Mr & Mrs M’s Shower Room
”We are absolutely delighted with the bathroom! Carl was so brilliant, and we're so grateful for all of his hard work and attention to detail. He's done an amazing job, nothing was too much trouble and he kept us involved throughout. Can't thank him enough!
And a huge thank you to you and Adam too for all of your help and for making the whole process so quick, easy and lovely 🙂”
The Shower Room Speaks for Itself!

Product Highlights
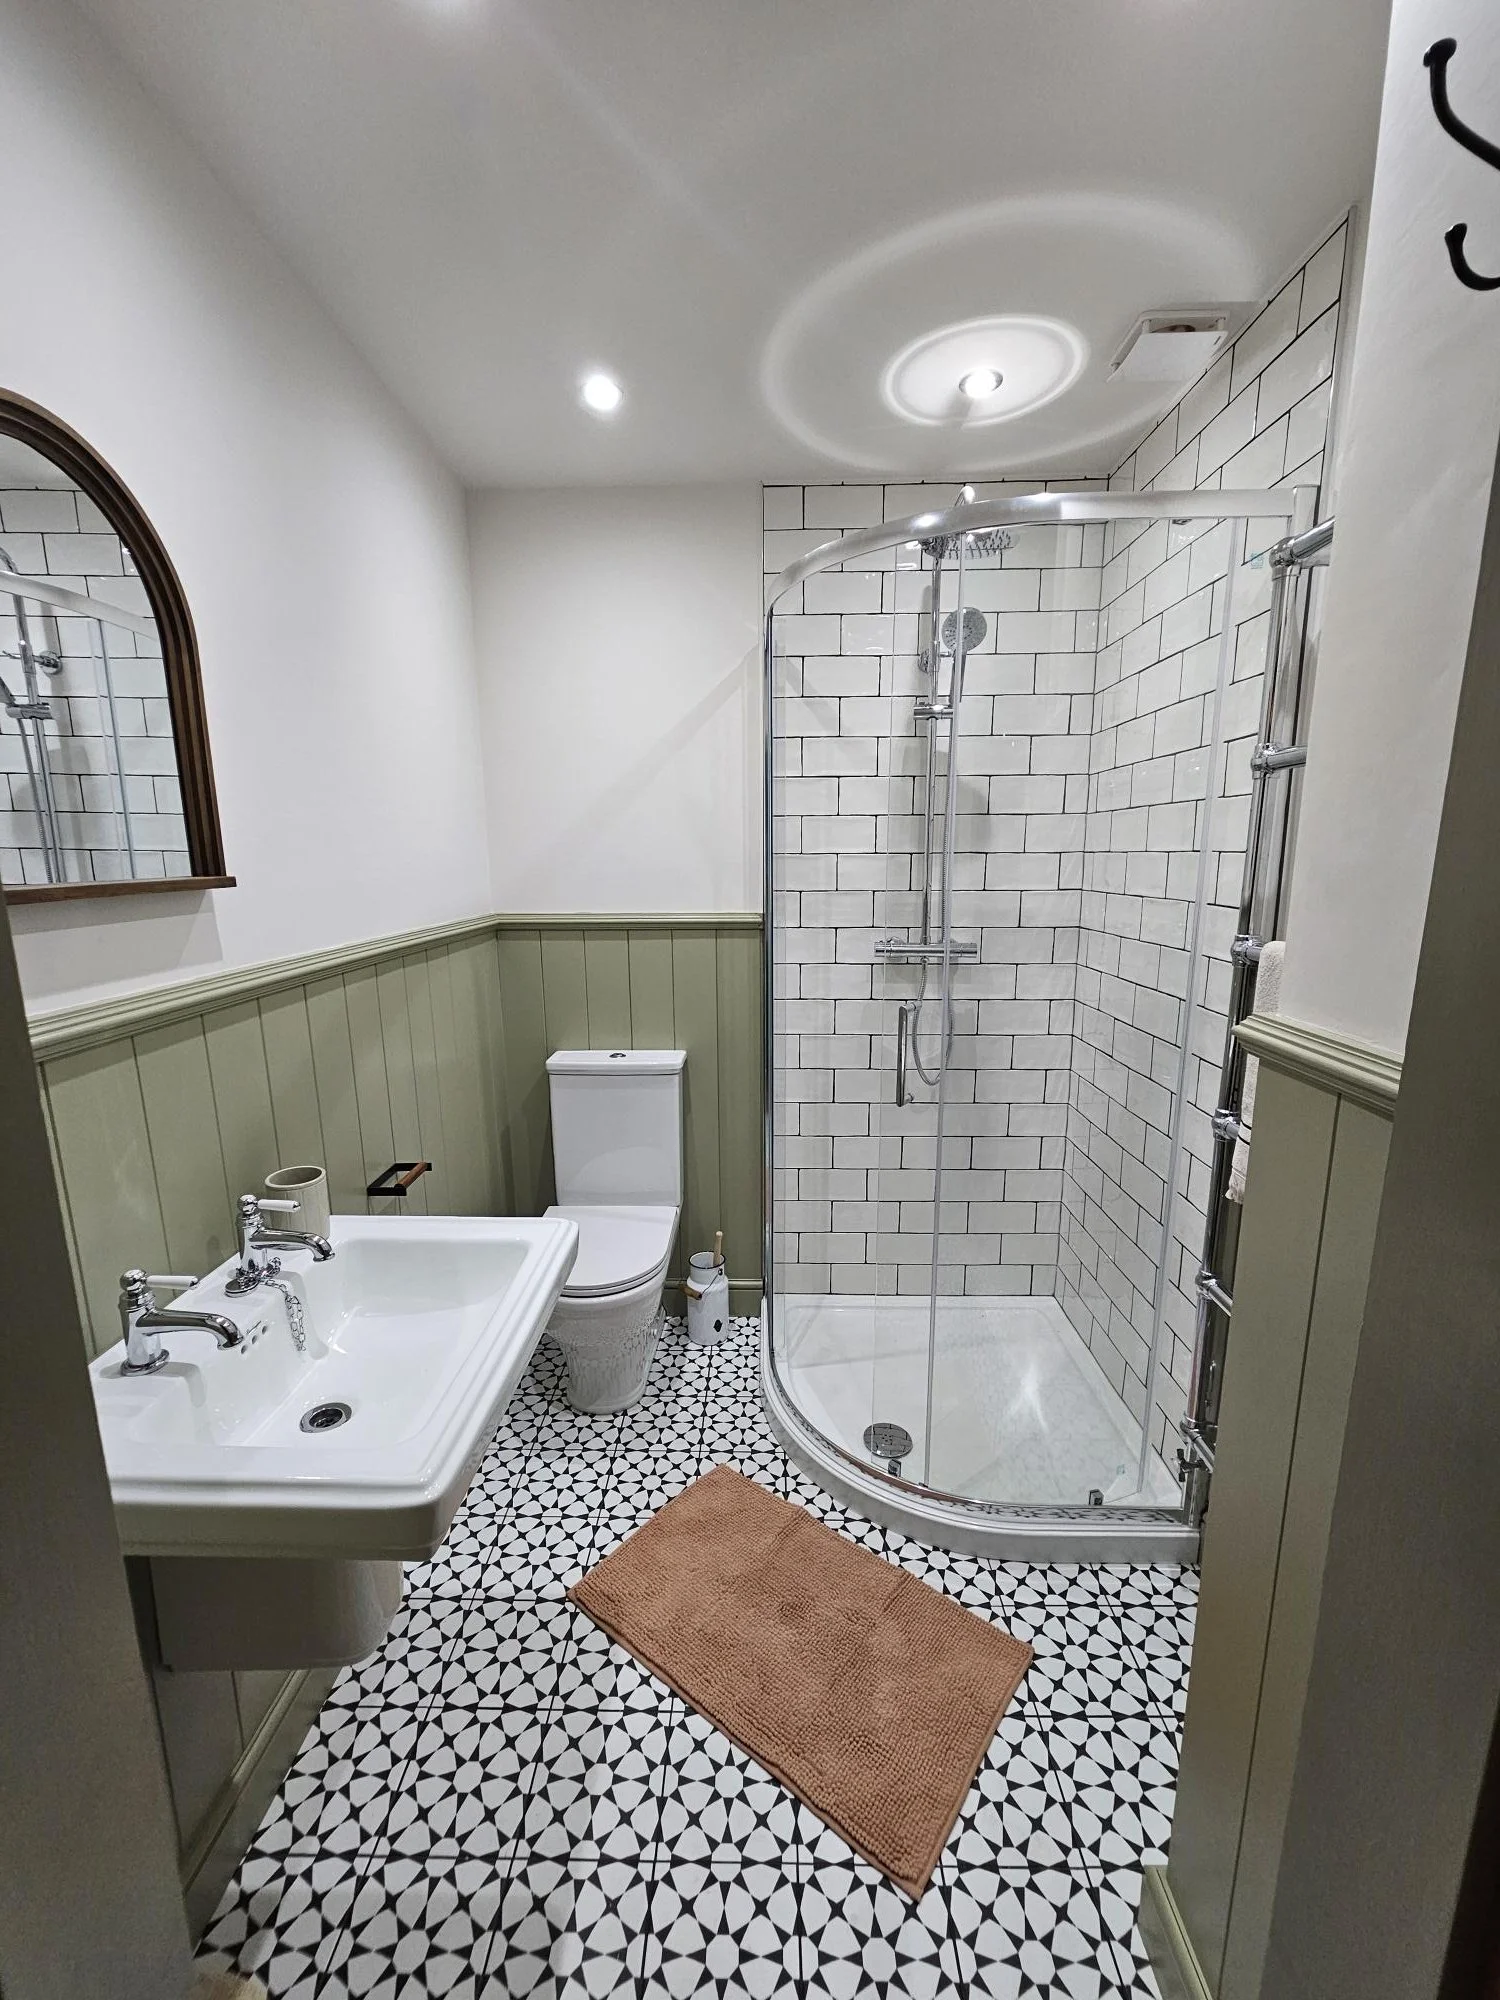
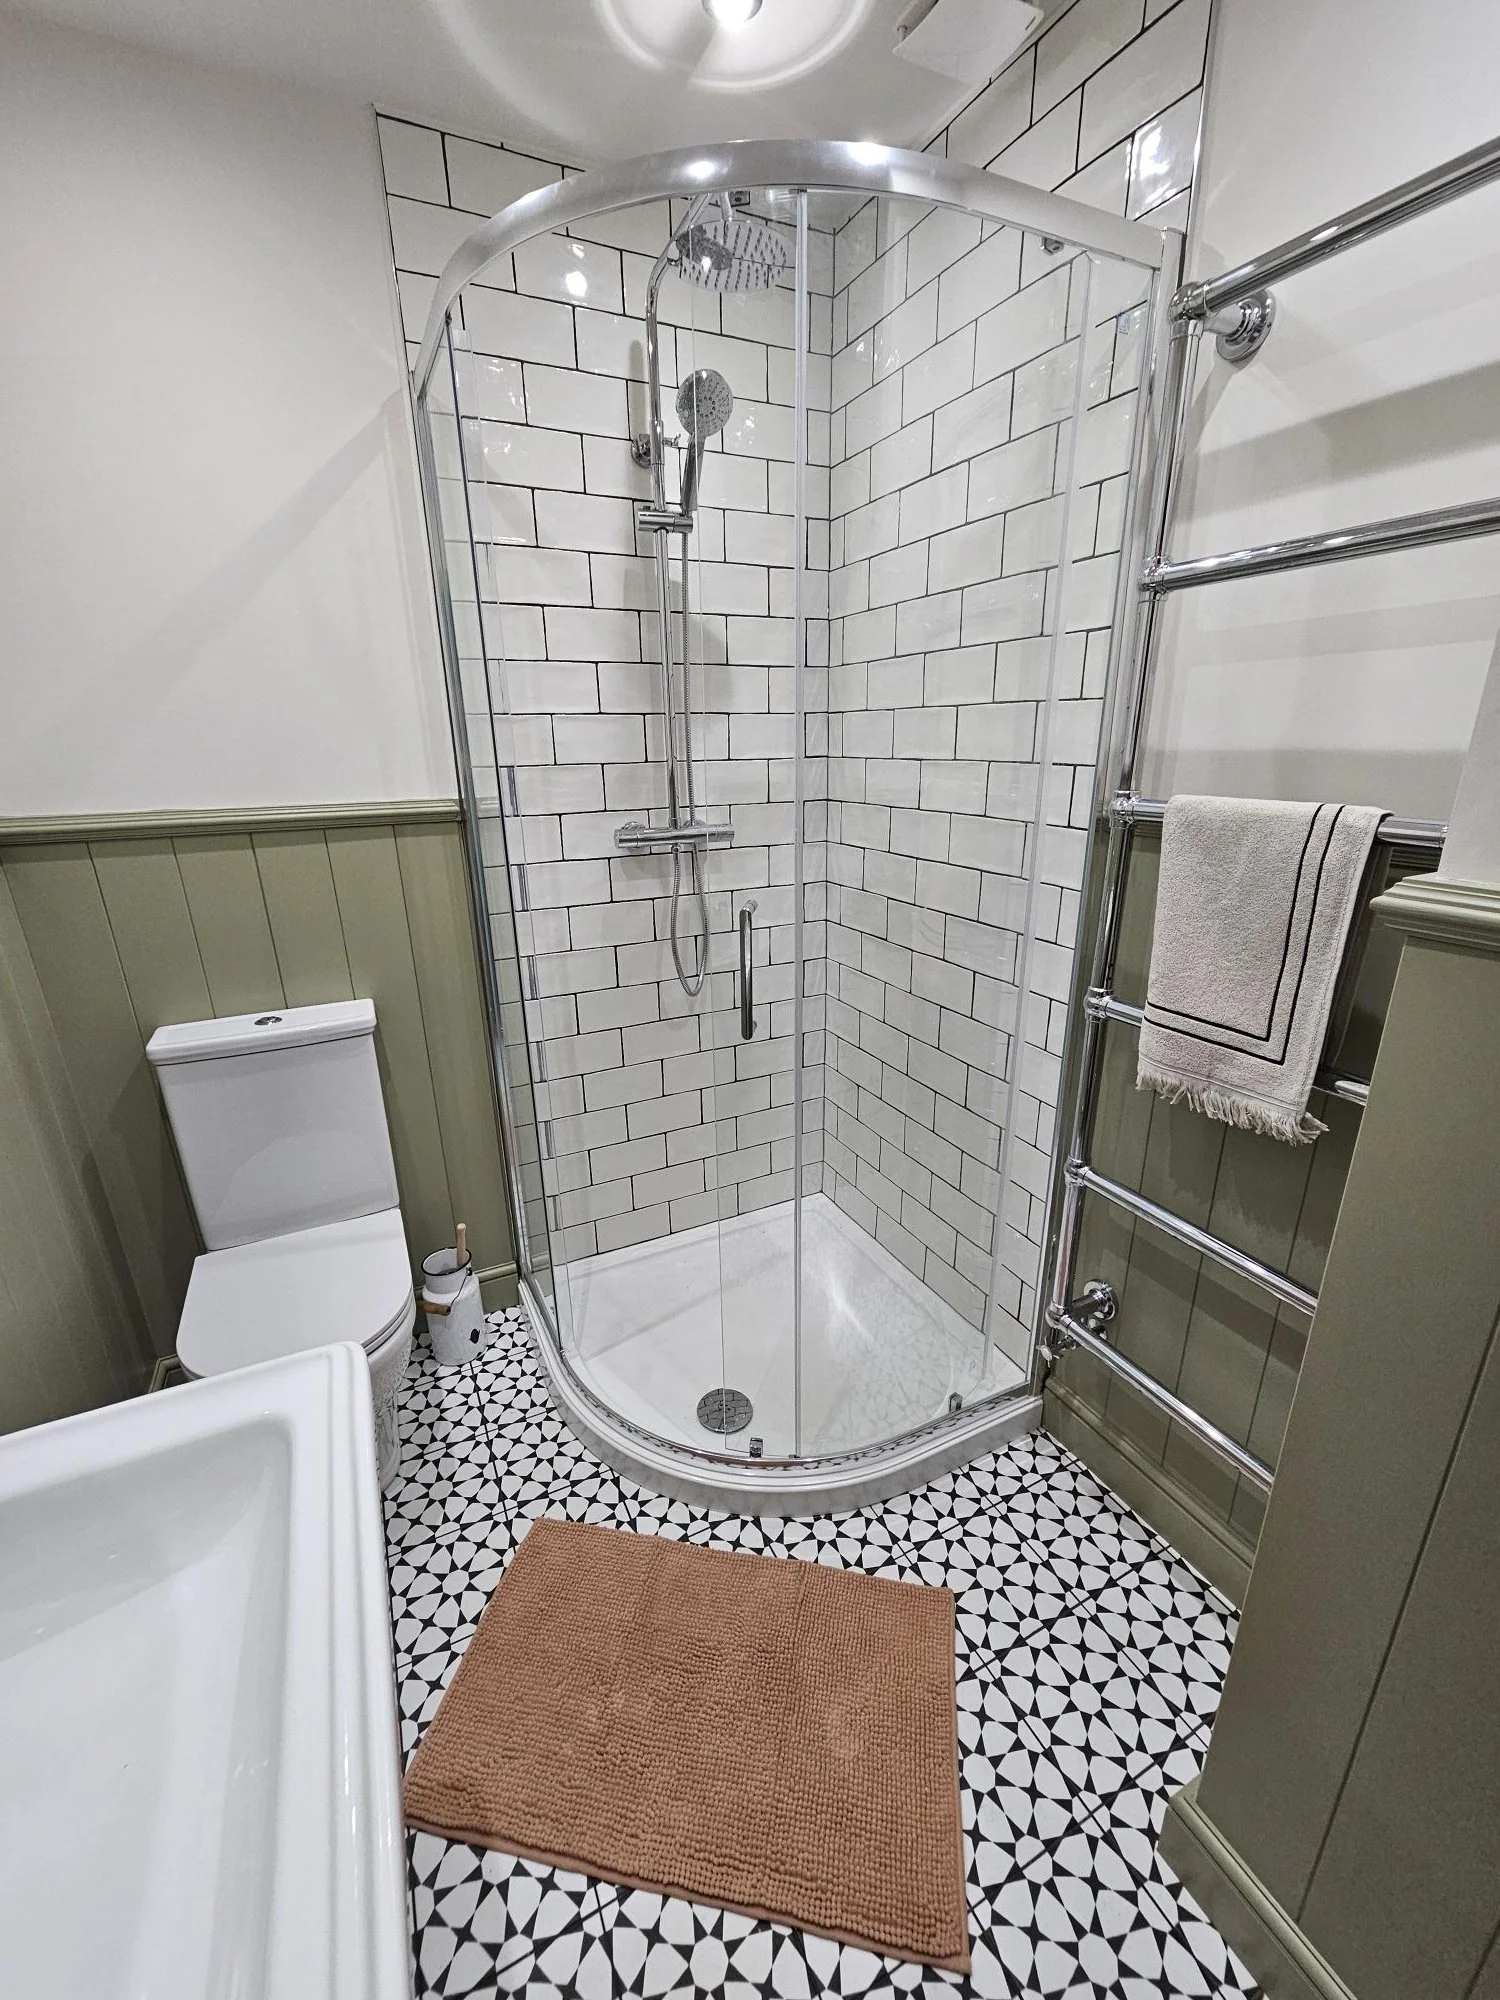
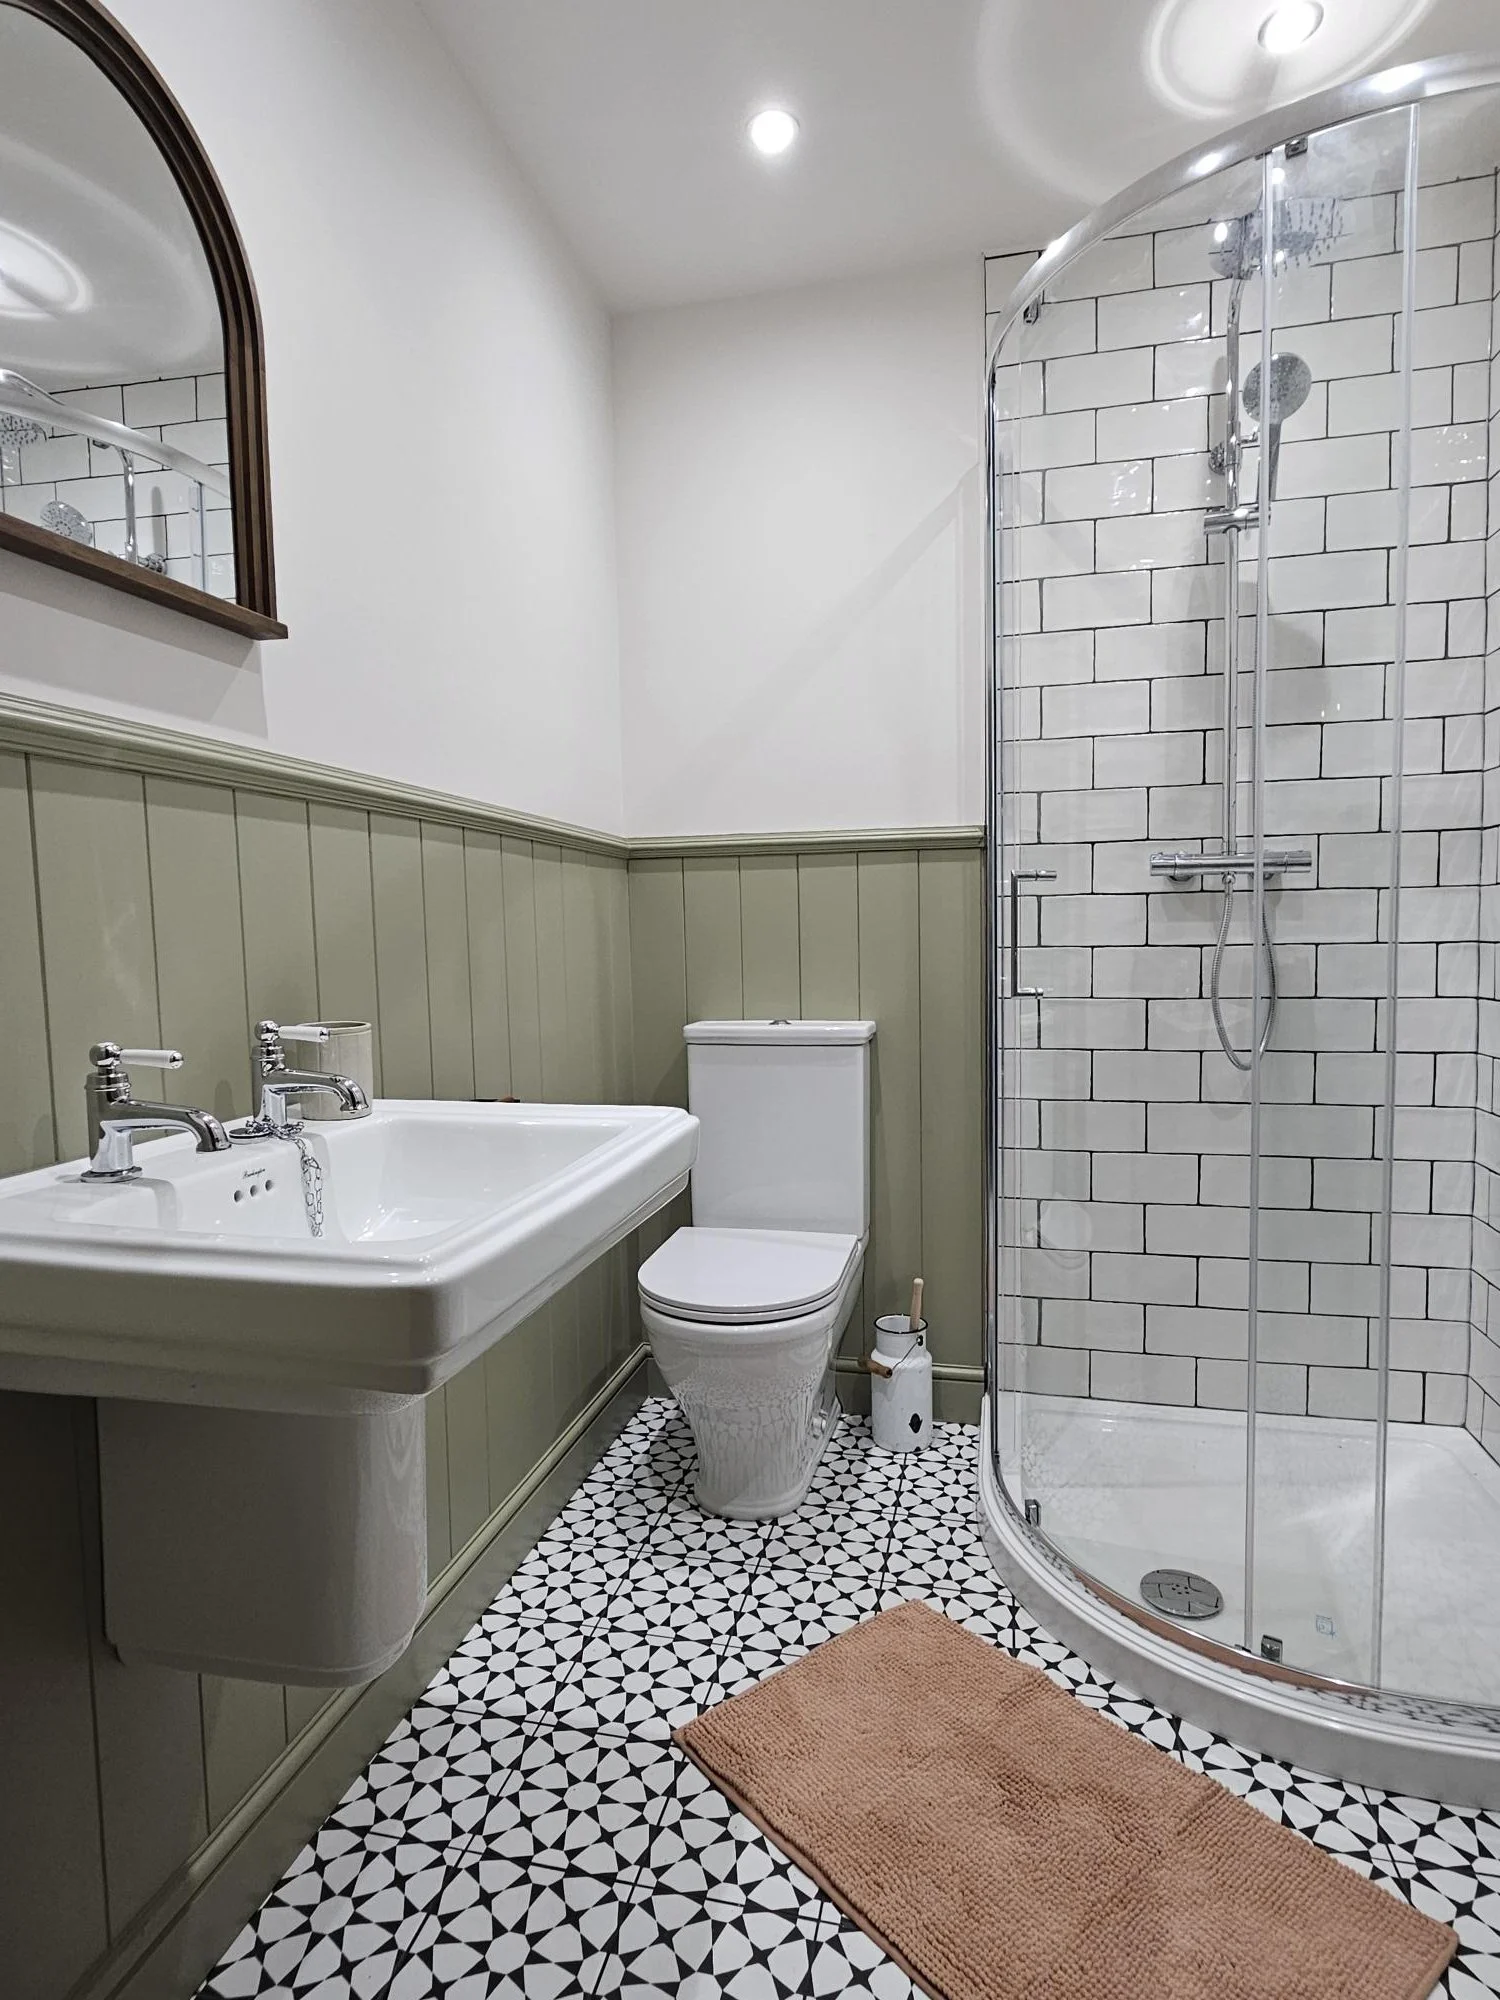
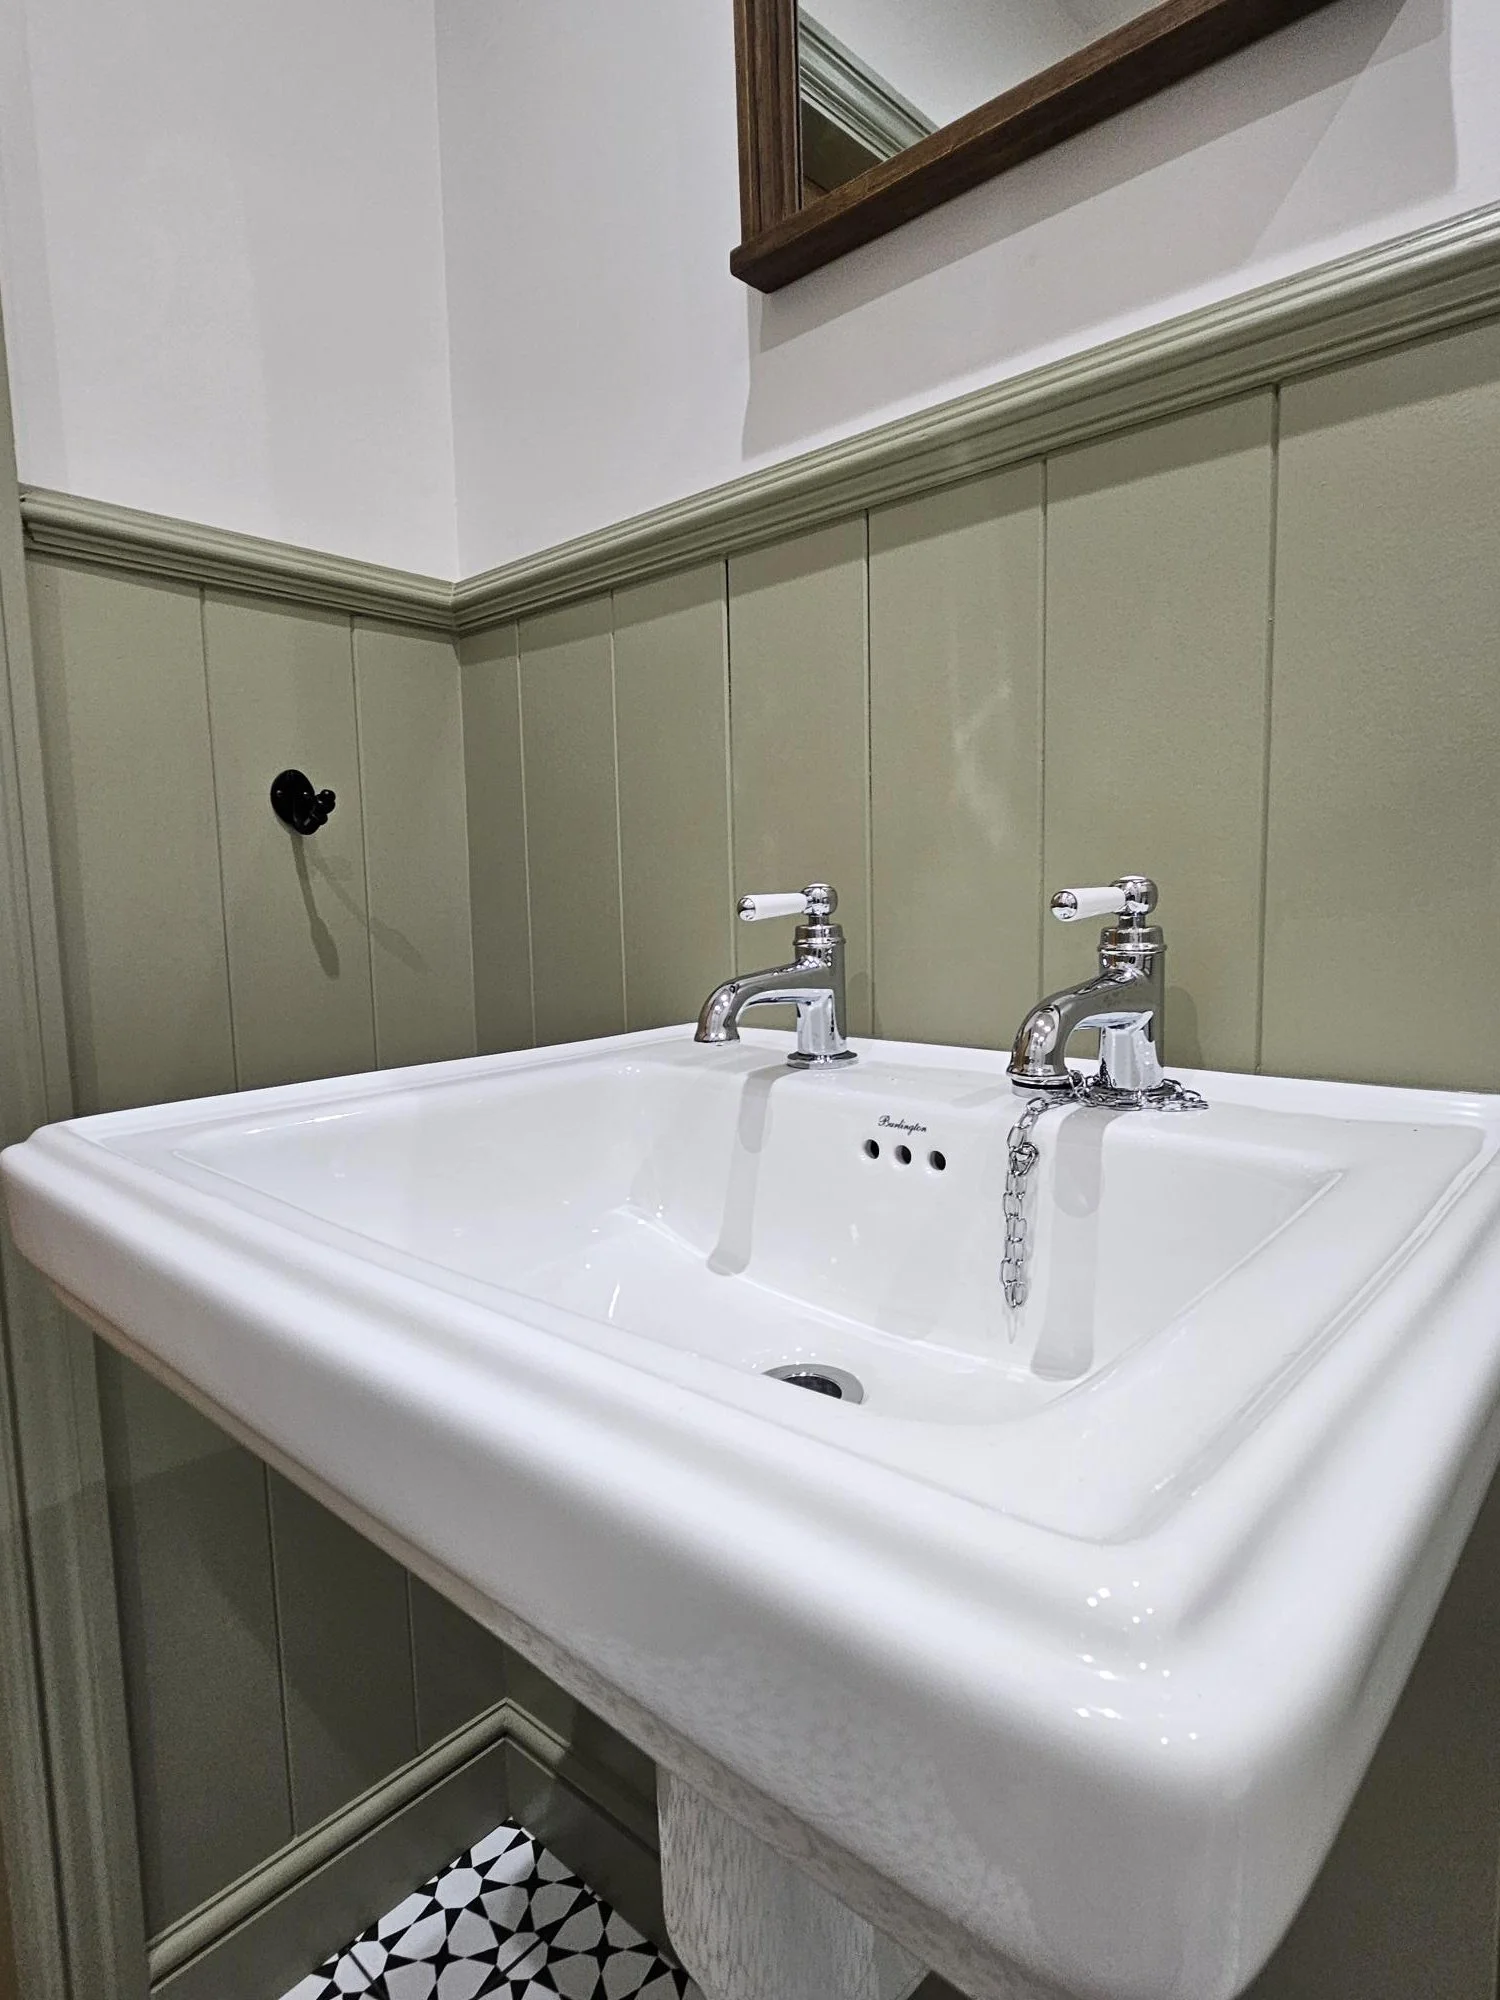
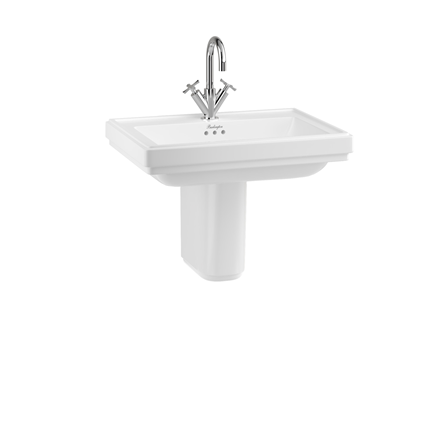
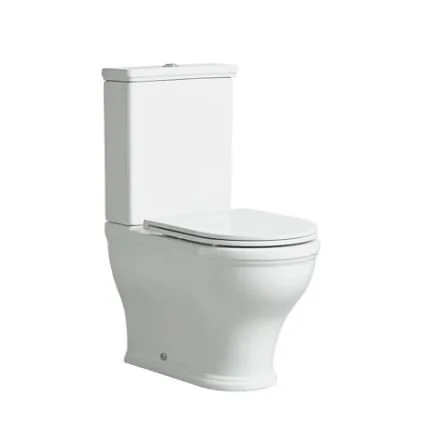
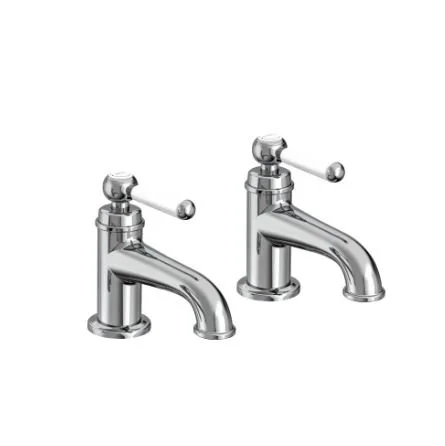
Mr & Mrs M chose to use the Burlington Riviera square basin for their shower room as a stand out piece, and complemented this with a half pedestal and a traditional style plug and chain basin waste. This, combined with the panelling and brick shaped tiles they chose for their walls, really makes the space feel timeless, and ensures that no matter how they choose to decorate and accessorise their bathroom in the future, it’s firmly anchored in a traditional style. They paired this with our favourite Tavistock Lansdown WC- which is slimmer and more subtle than the Burlington counterpart. We also used Tavistock Lansdown basin taps with a lever head to seamlessly combine contemporary convenience with a traditional look.
How did this job happen?
-
Mr & Mrs M came into the showroom and booked in for a measurement appointment with Adam. This appointment is completely free, and there’s no obligation- Adam comes out, takes some measurements, checks out where your pipes are, and heads off again. It takes about 30 minutes and there’s nothing extra you need to do.
-
After their measurement appointment, we put together a quote. This usually takes us a few days- we design your new bathroom, choose a range of products and then calculate costs for you. This package gets sent over in an email for review-or we can print your quote out and post it through your letterbox if you prefer!
-
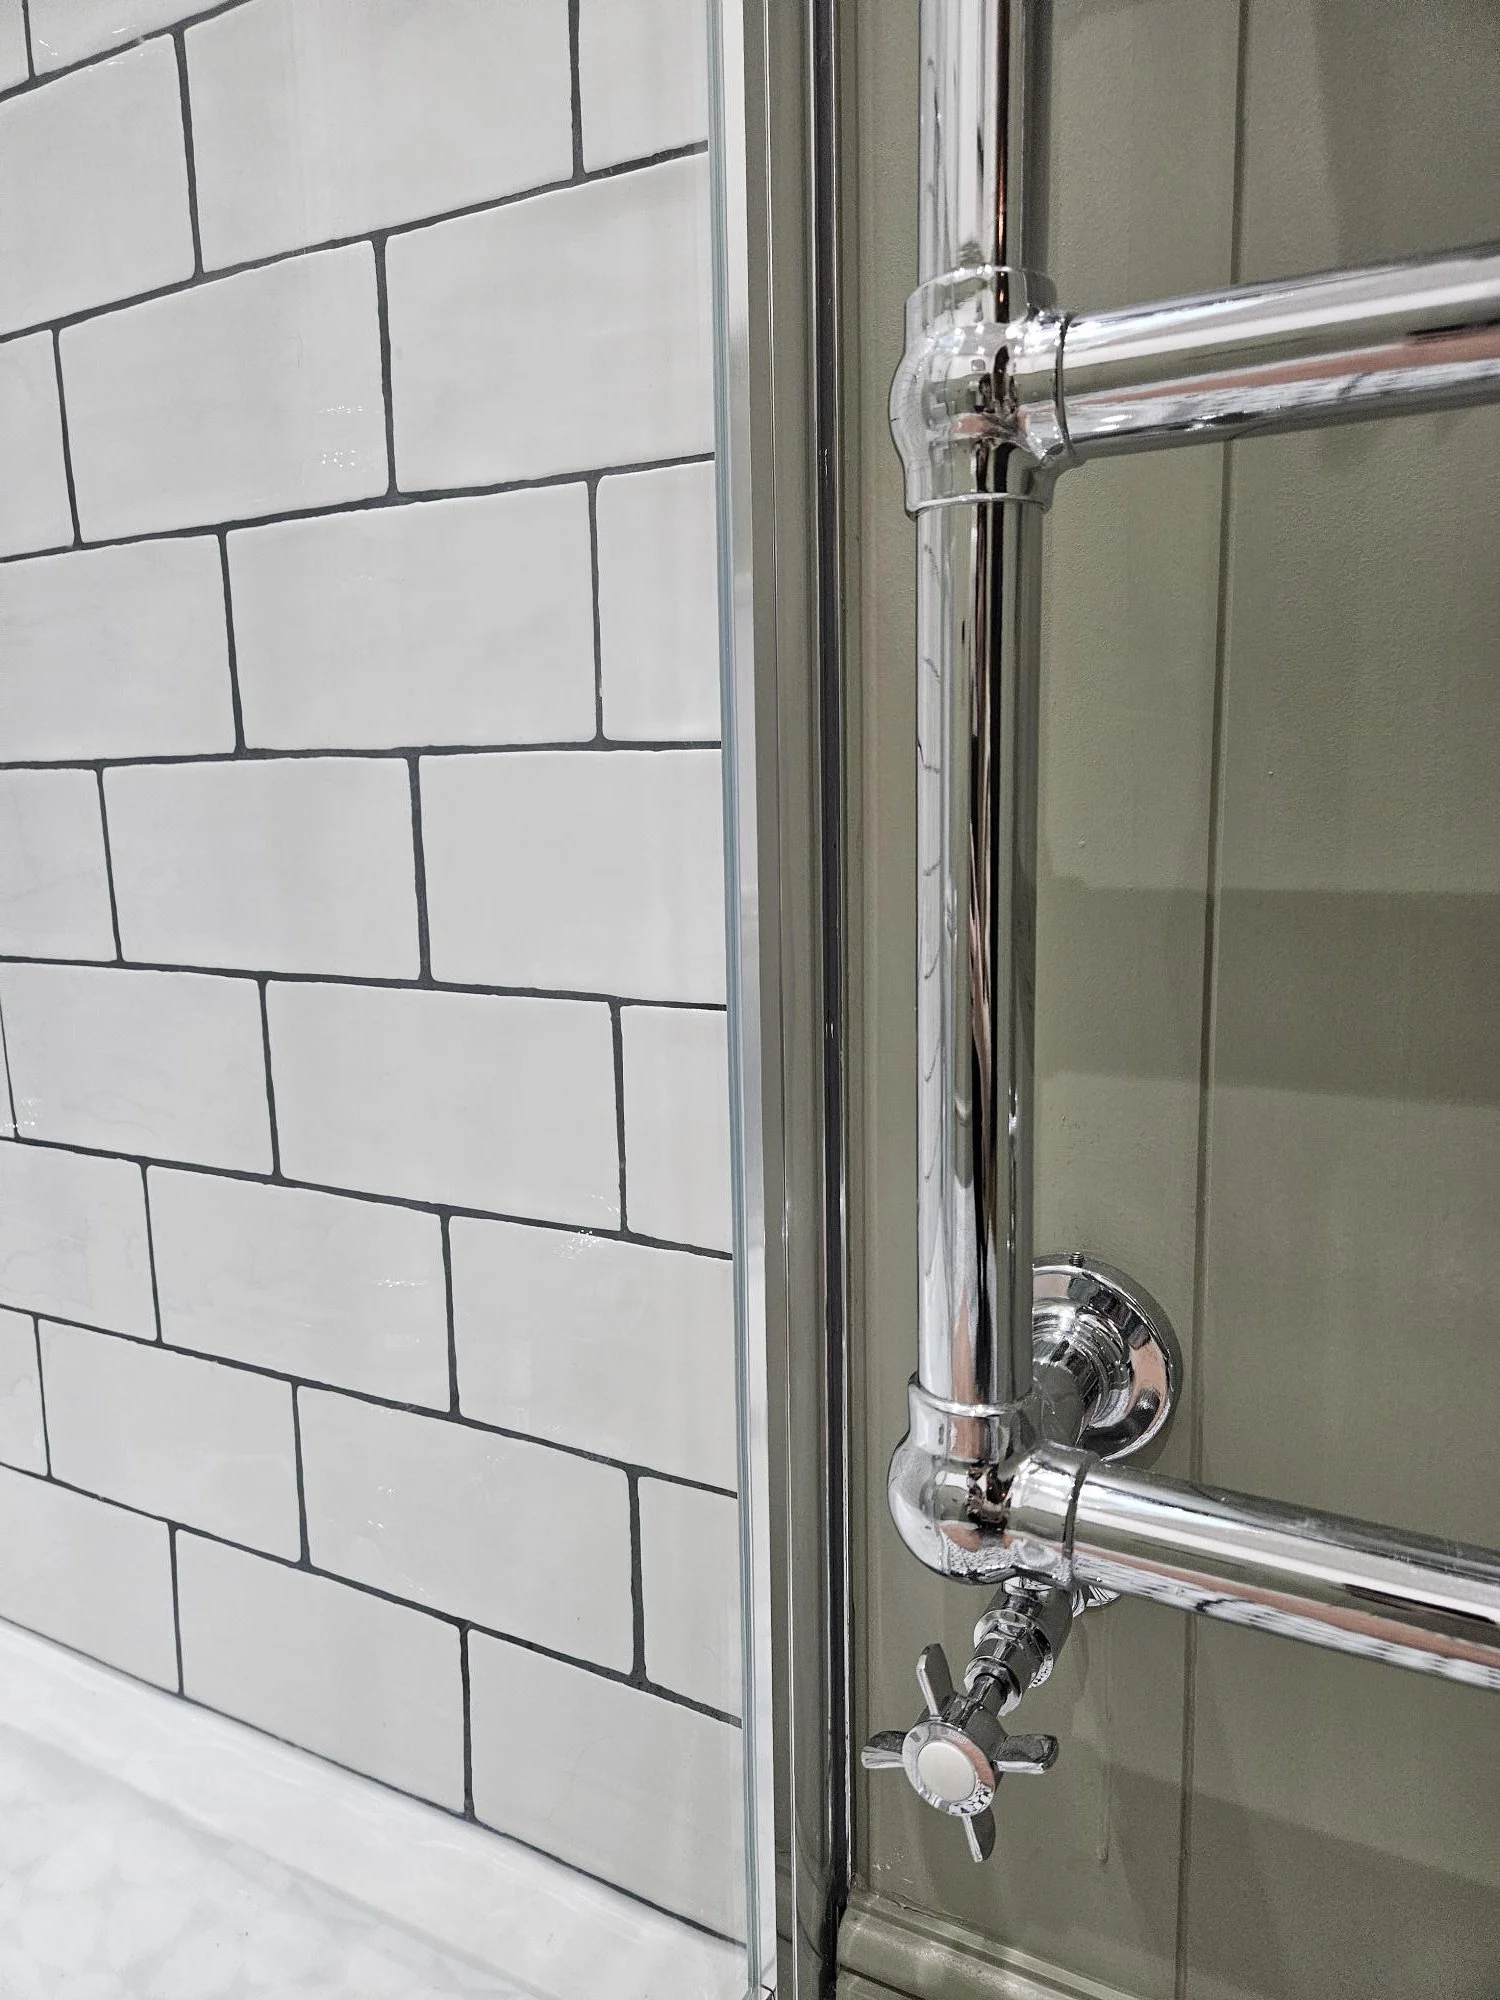
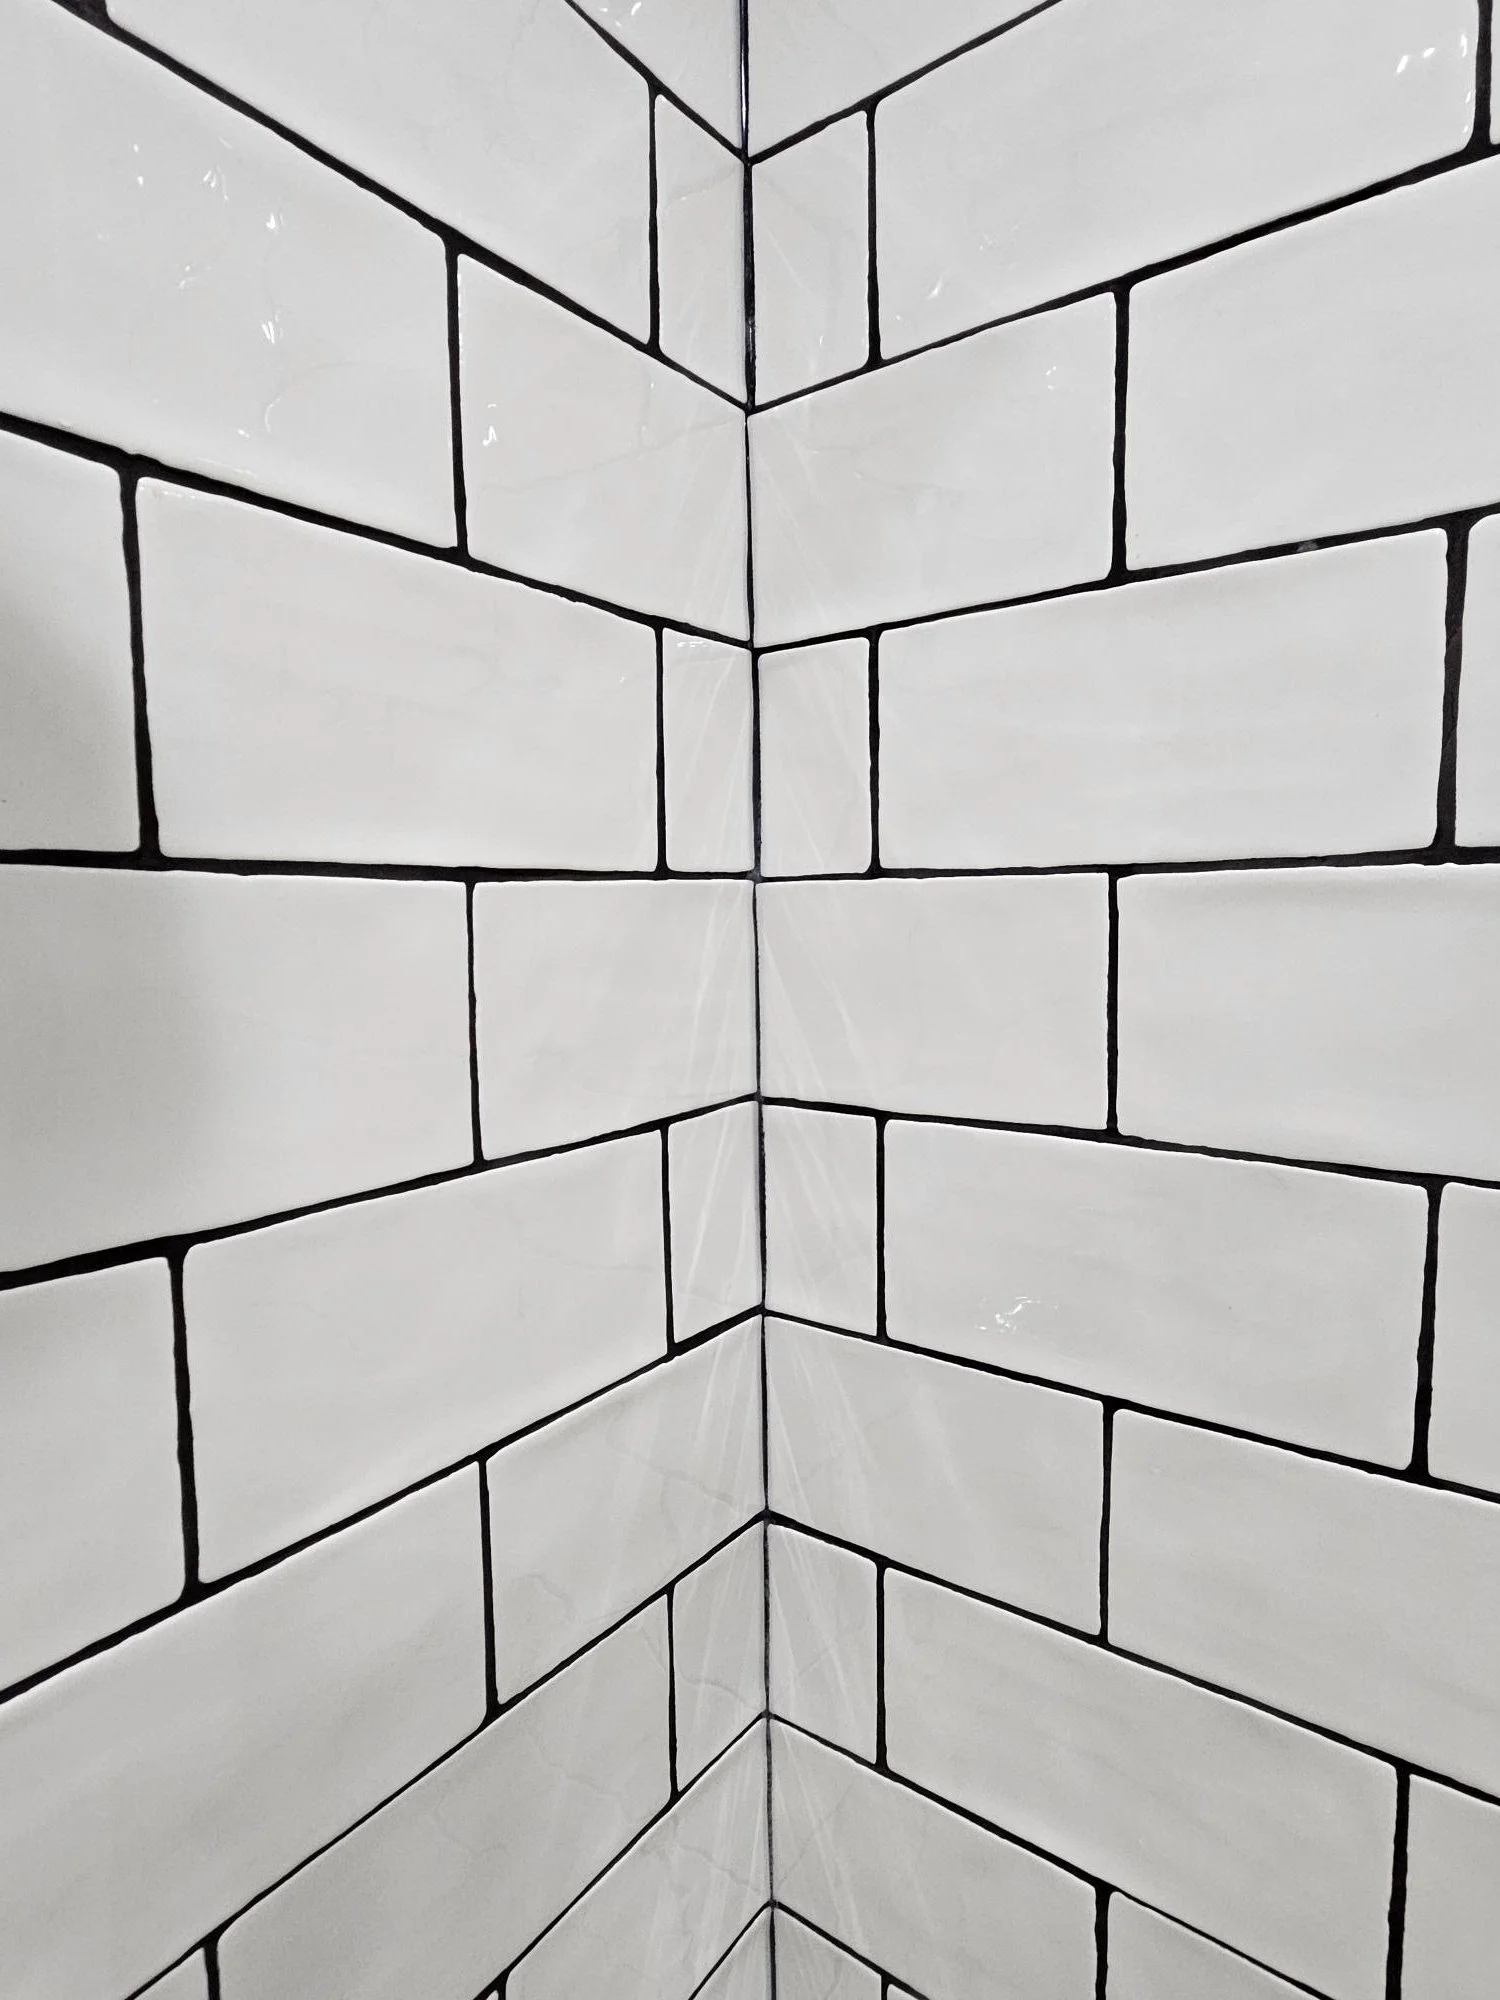
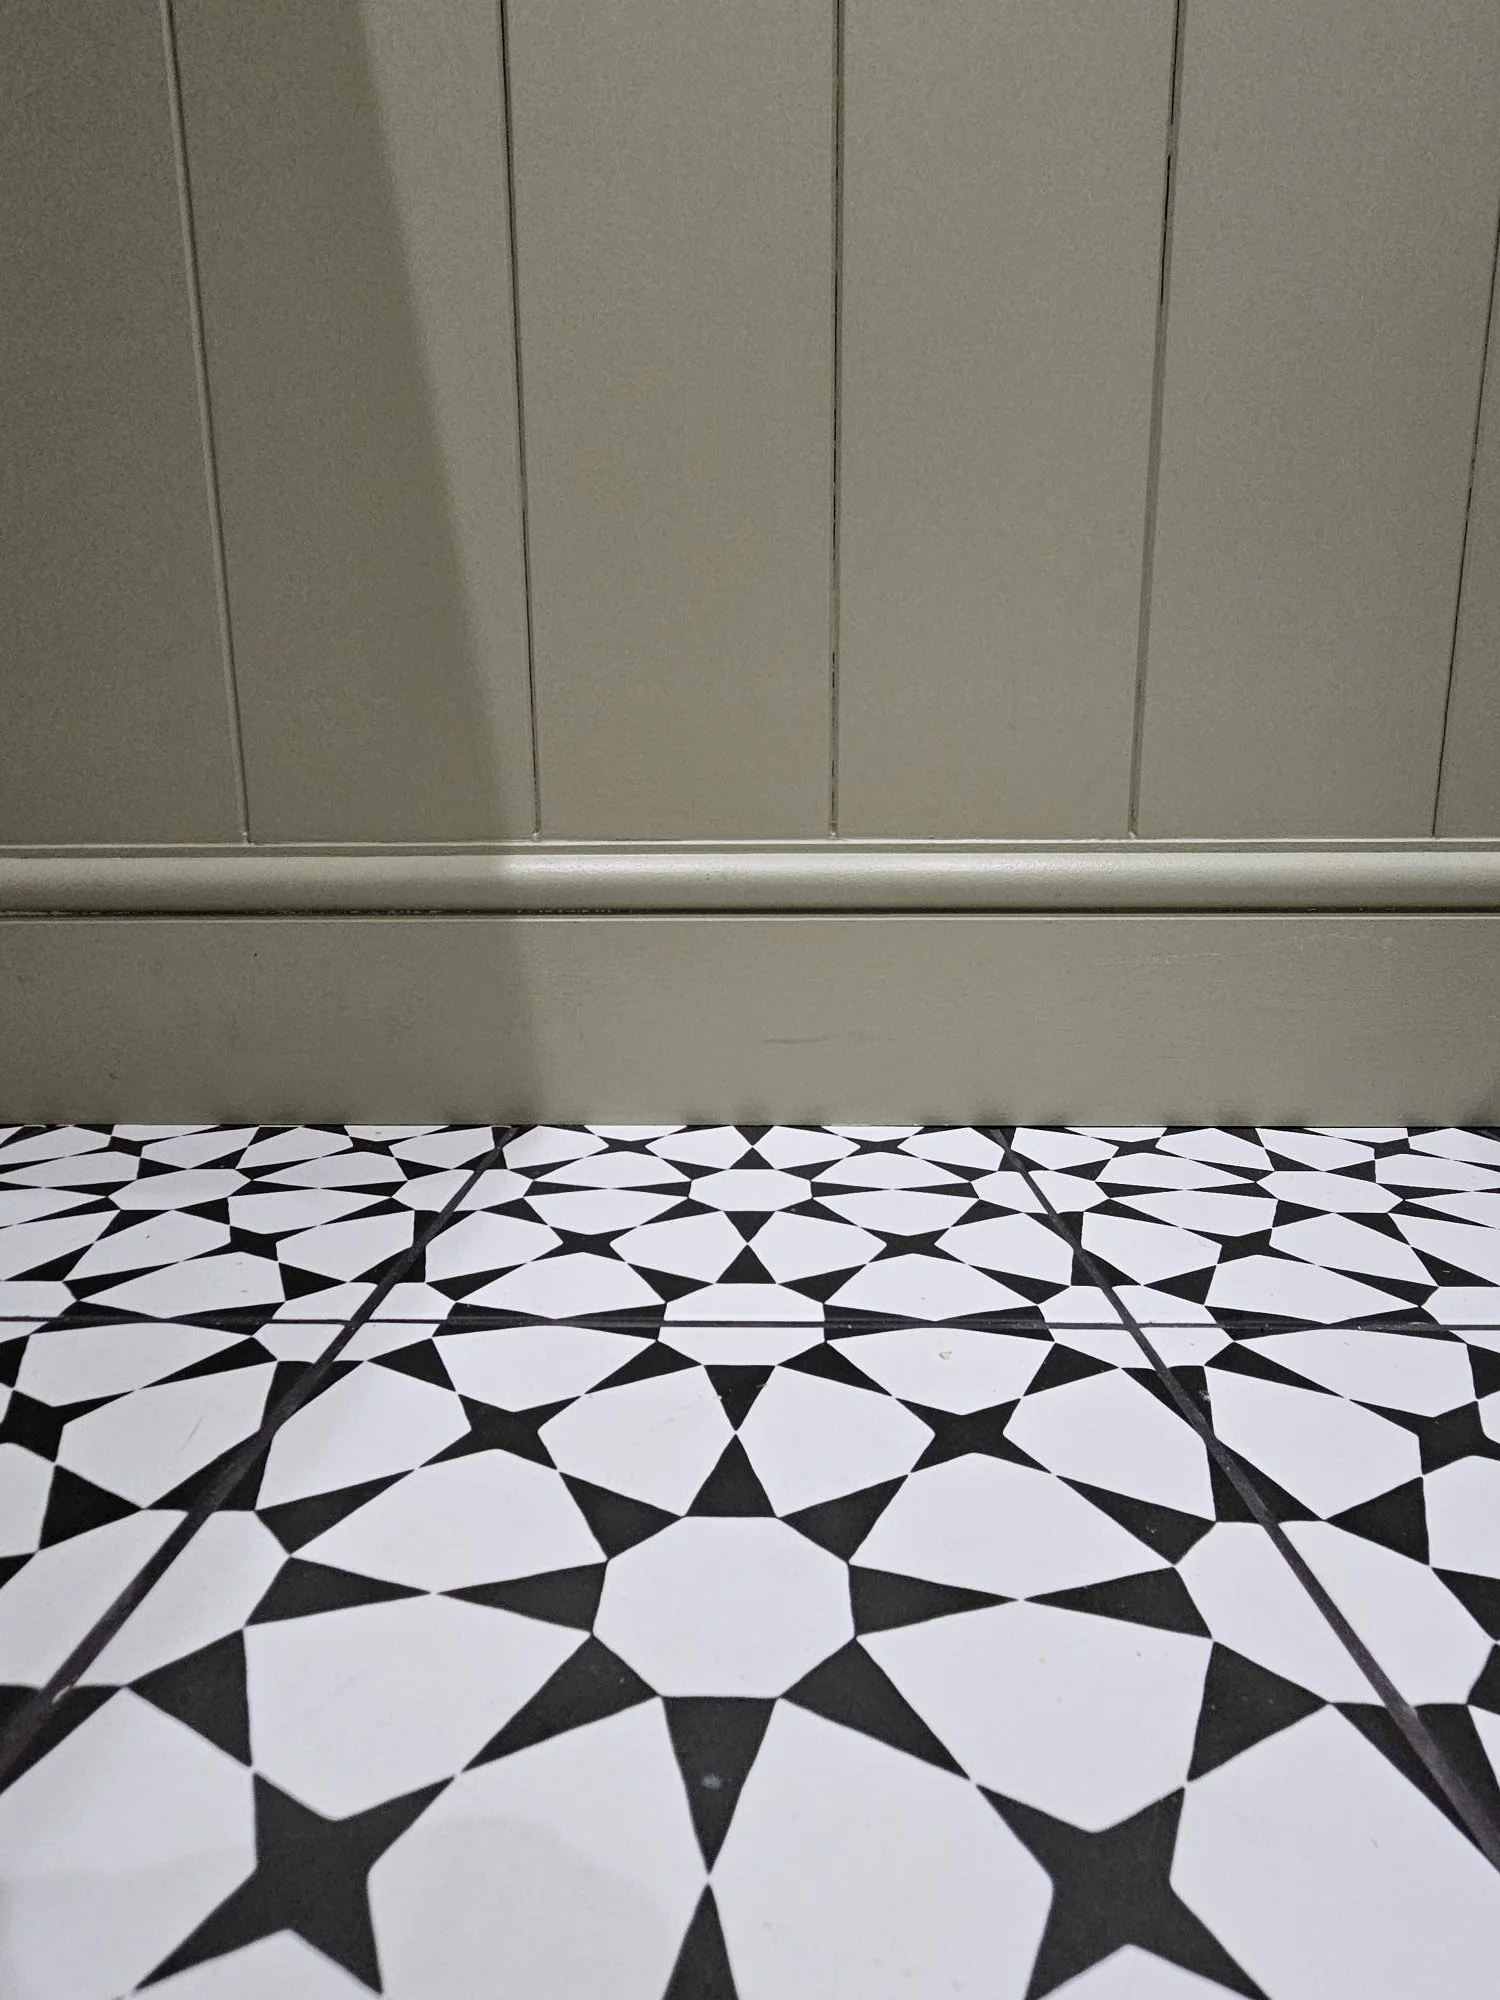
Most jobs have one or two consultations before work starts. We invite you into the showroom and go through the quote item by item, making sure you love the products we’ve selected as much as we do. If anything isn’t exactly perfect, we change it! This process isn’t one and done- Mr & Mrs M decided they’d like to source their own floor tiles at the first consultation- because they’d already seen some they loved. They also opted for a wall tile upgrade from a standard metro to the gorgeous Cosmopolitan tile from Original Style in Papyrus- and this was decided via email after they’d seen a few samples over the Christmas break.
-
Once we’d ironed out all the fine details in a consultation, we pencilled in a start date. This is the stage where you get to sit back and relax, and we get busy! We ordered all their products and arranged for everything to be delivered to site ready for Carl- one of our amazing fitters- to install. The first stage is rip-out, for this one we went right back to brick. Not every job needs that- but we always want to make sure that we’ve got the right base to work from.
-
After we’ve got everything back to base, we start installing. First fix comes first- which is getting all the pipework ready for your new fixtures and fittings. This stage can feel slow, because if you don’t know what you’re looking for it can feel like the room doesn’t change much for several days- but there’s a lot happening behind the scenes, we promise!
-
Once your wall and floor coverings are in, it’s time to second fix your plumbing and add all the finishing touches, which is where your room really starts to come together- this is often quite fast, so it can go from feeling like there’s been no progress, to having a finished bathroom in just a few days!