Mr & Mrs P’s House Bathroom.
It all begins with an idea. For Mr & Mrs P, it was trying to update their bathroom into a luxury oasis- somewhere that made getting ready in the morning feel like it would set them up for a good day, and somewhere to make relaxing in the evening feel like a spa retreat.
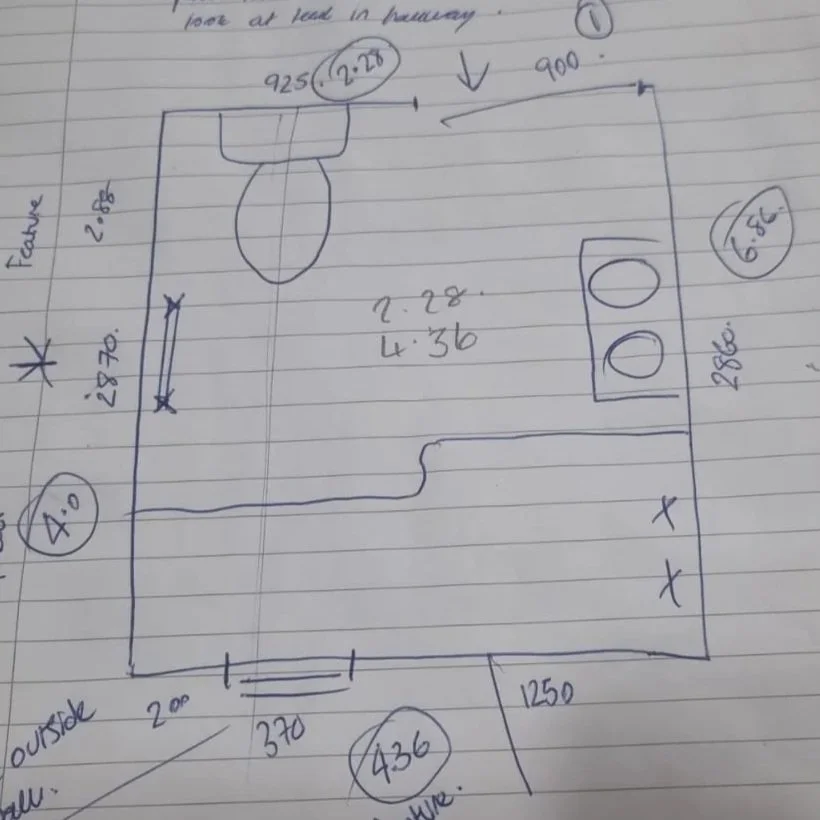
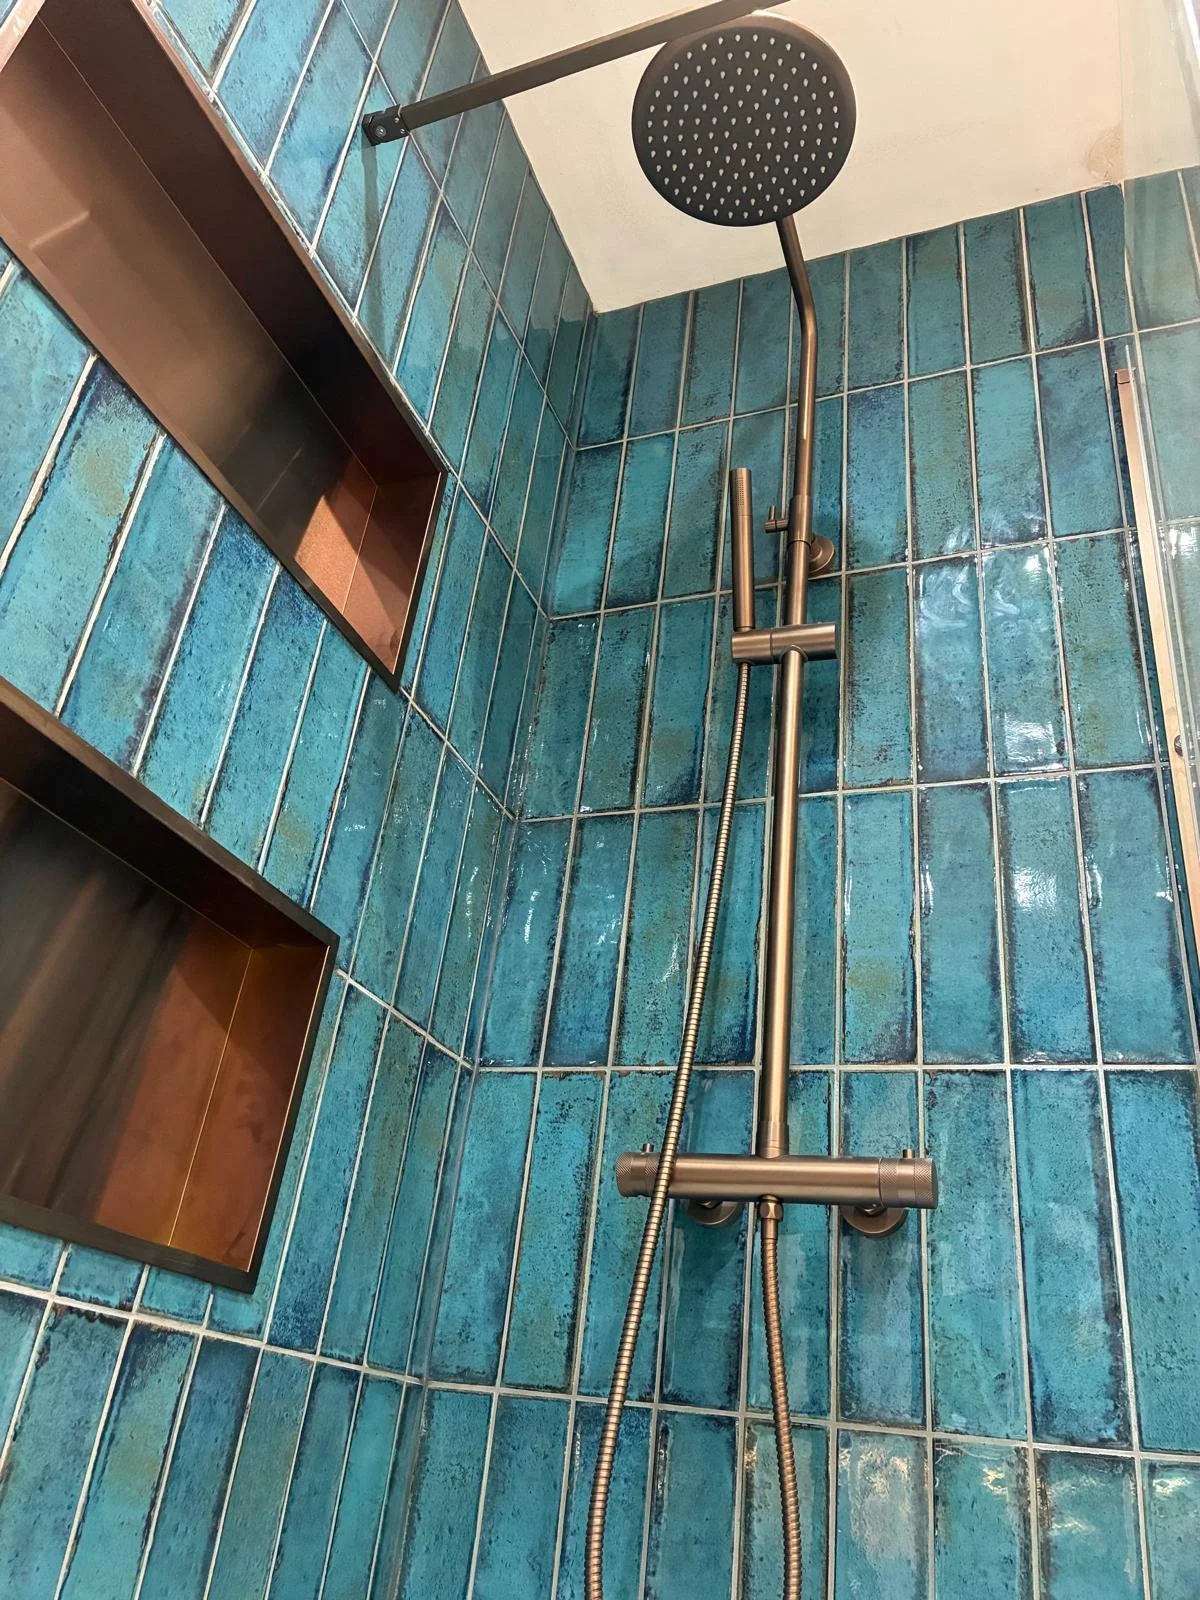
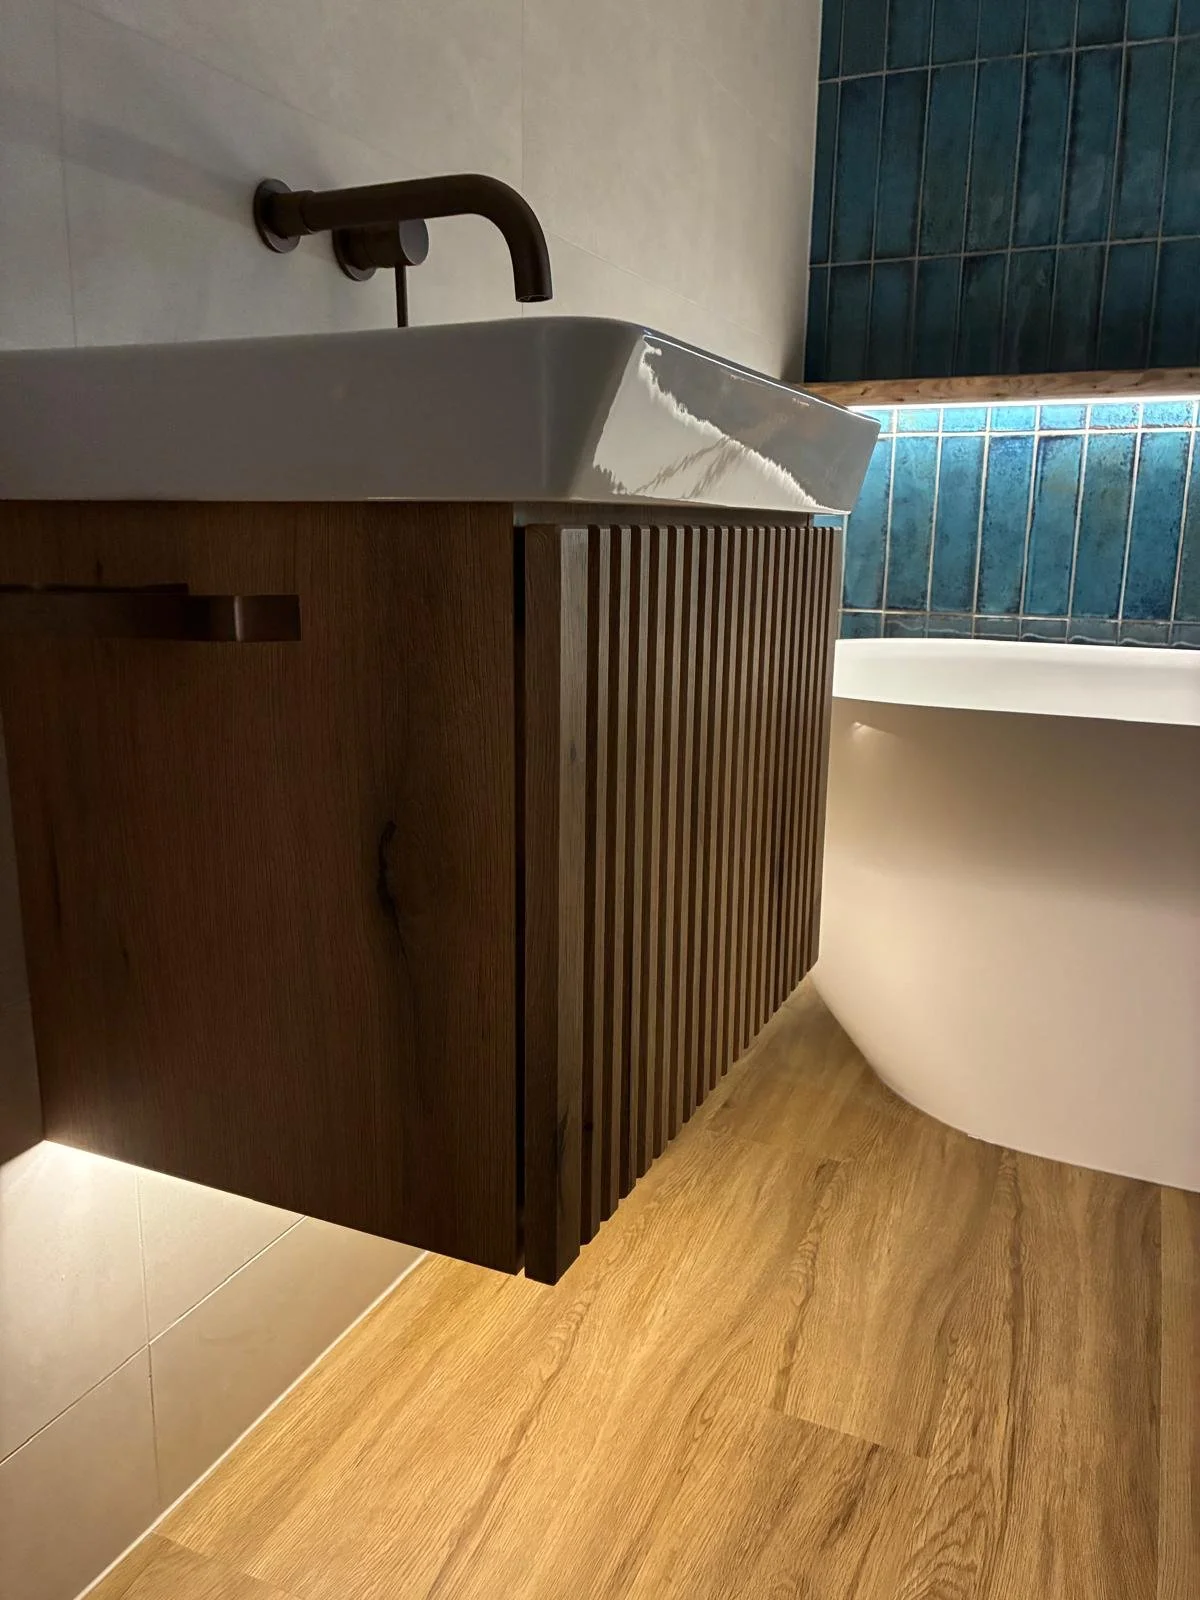
We sat down and started planning. The spot beside the door was a little over 900mm wide- which was perfect for a reasonably sized shower enclosure. In our original plan, we’d suggested a half height wall with a bespoke glass topper- this gave us somewhere to position the towel rail- plus this design makes your shower super easy to keep clean. This sketch is what we used to plan for the CAD design, which we showed Mr & Mrs P just before their consultation so that they could visualise all the products in their quote. They’d already visited us once and picked out the bronze brassware, as well as the vanity unit and feature tiles, so everything else came together really quickly at our end!
Where we began…
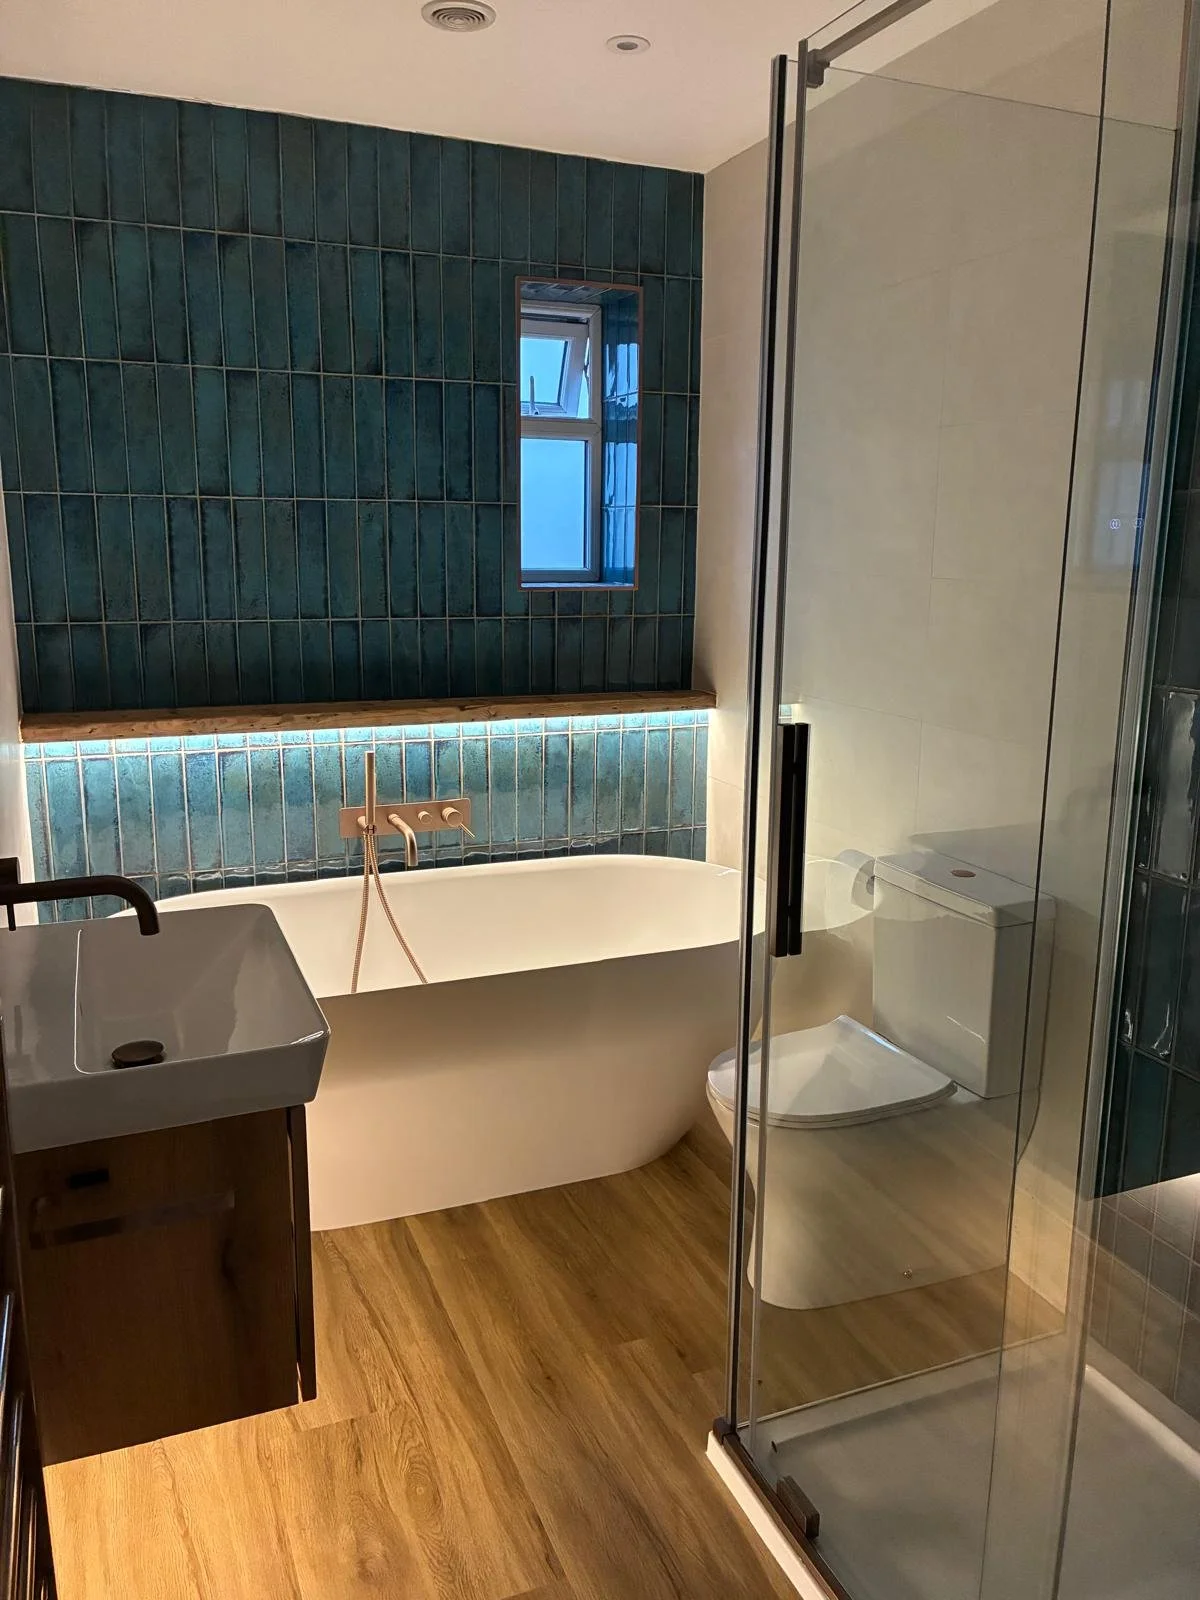
All our incredible bathrooms begin with a sketch- at a measurement appointment, Adam will come and draw out your bathroom as it is now, with the measurements he needs to know to plan your new design. Mr & Mrs P’s bathroom had a fitted P shaped bath under the window, which was meant to be a practical option to give them a little more room at the shower end, but unfortunately, it wasn’t working for them. They were eager to try to fit in a separate bath and shower, but didn’t want something which felt too cramped.
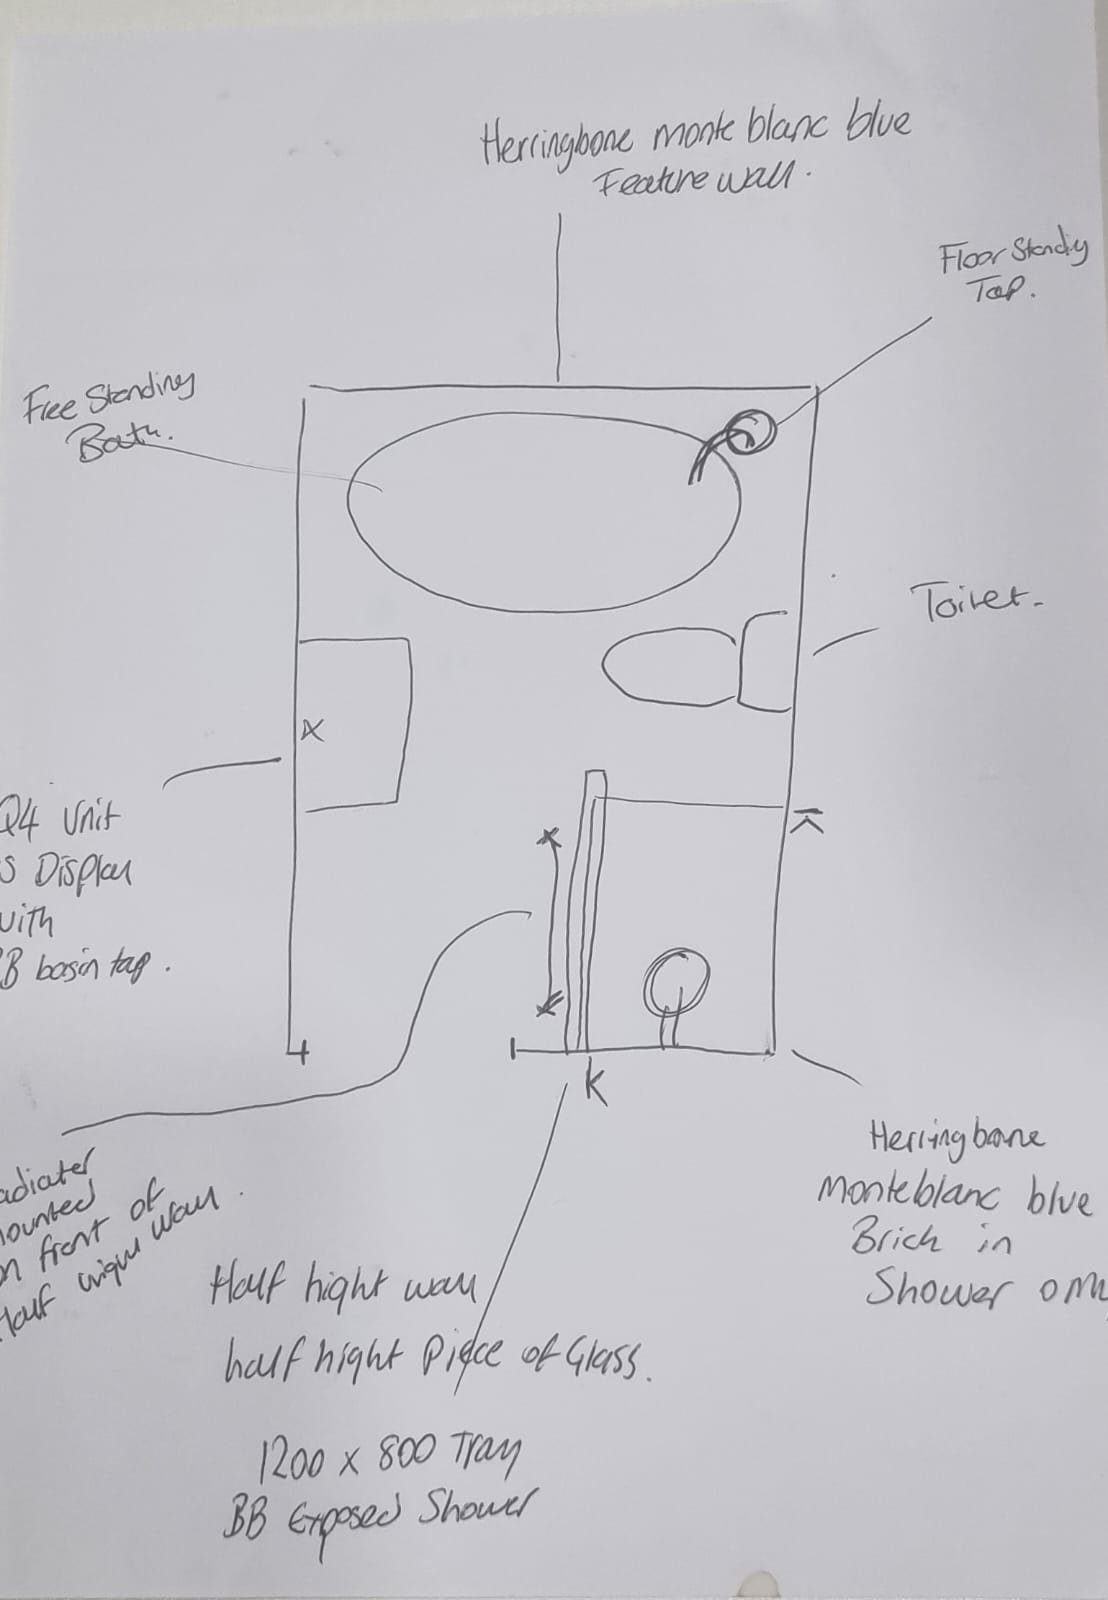
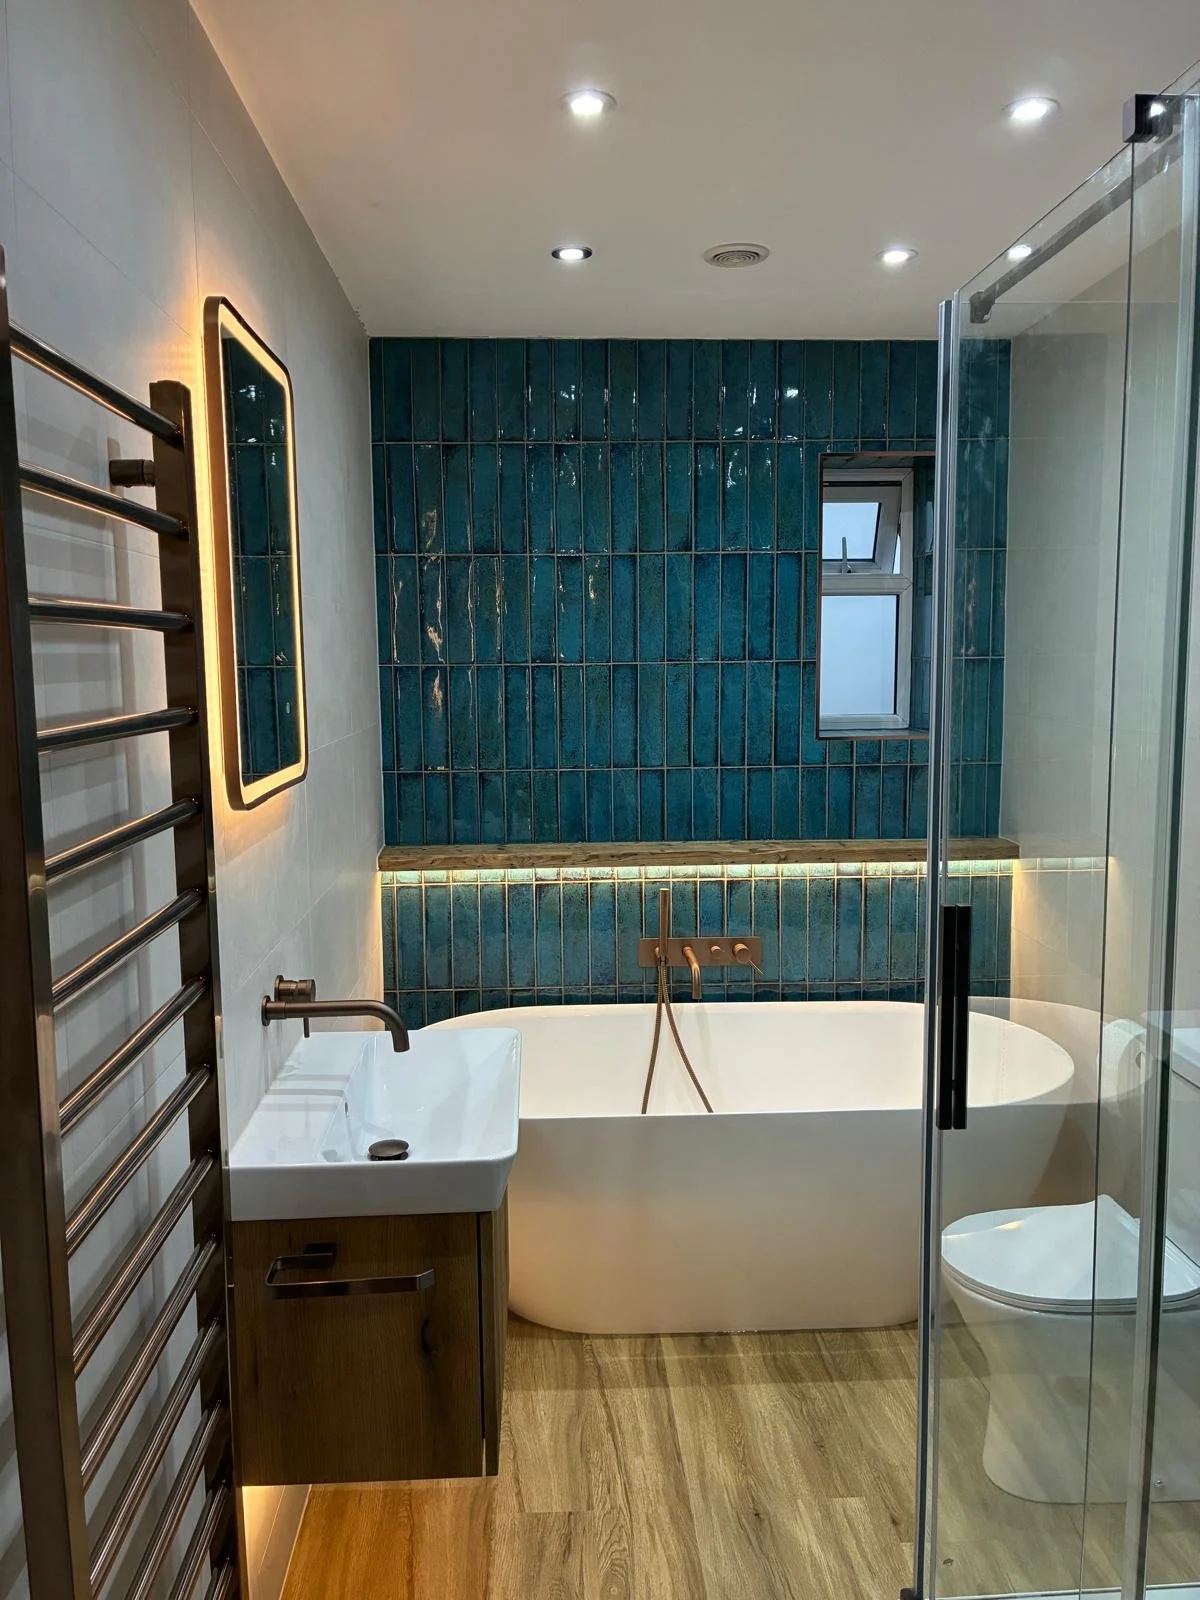
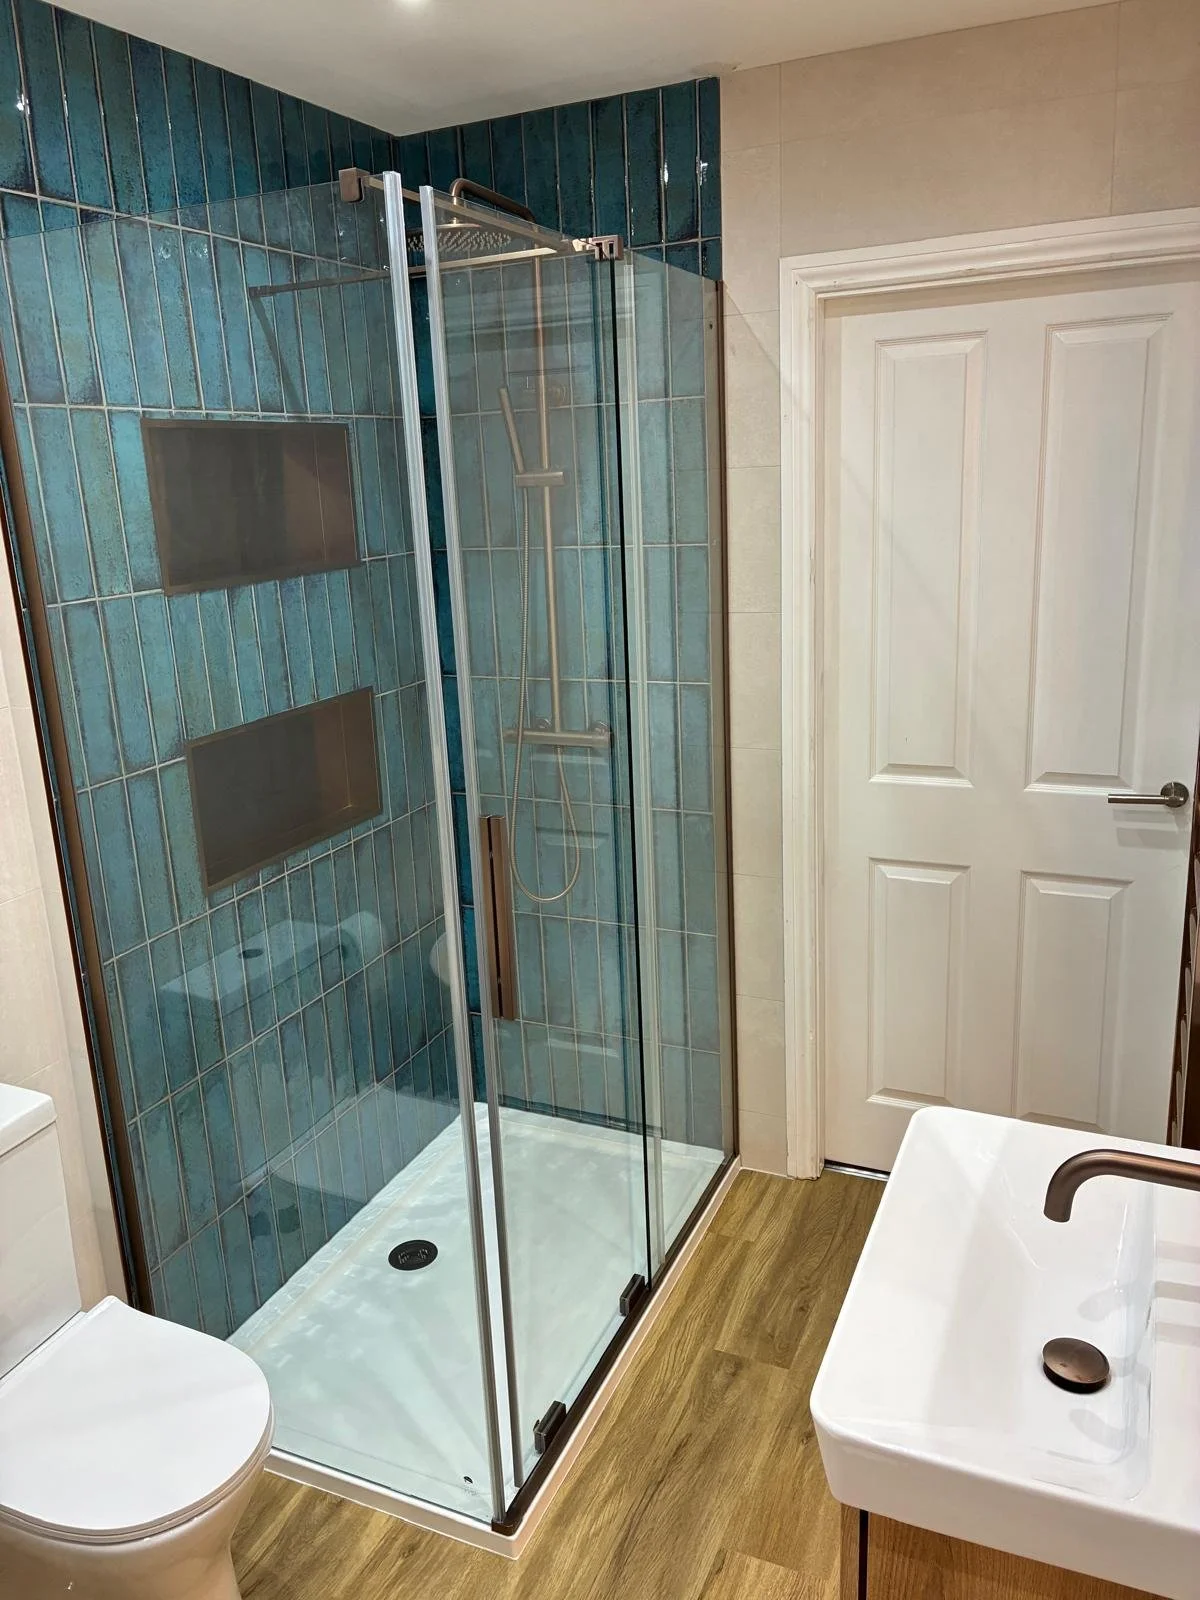
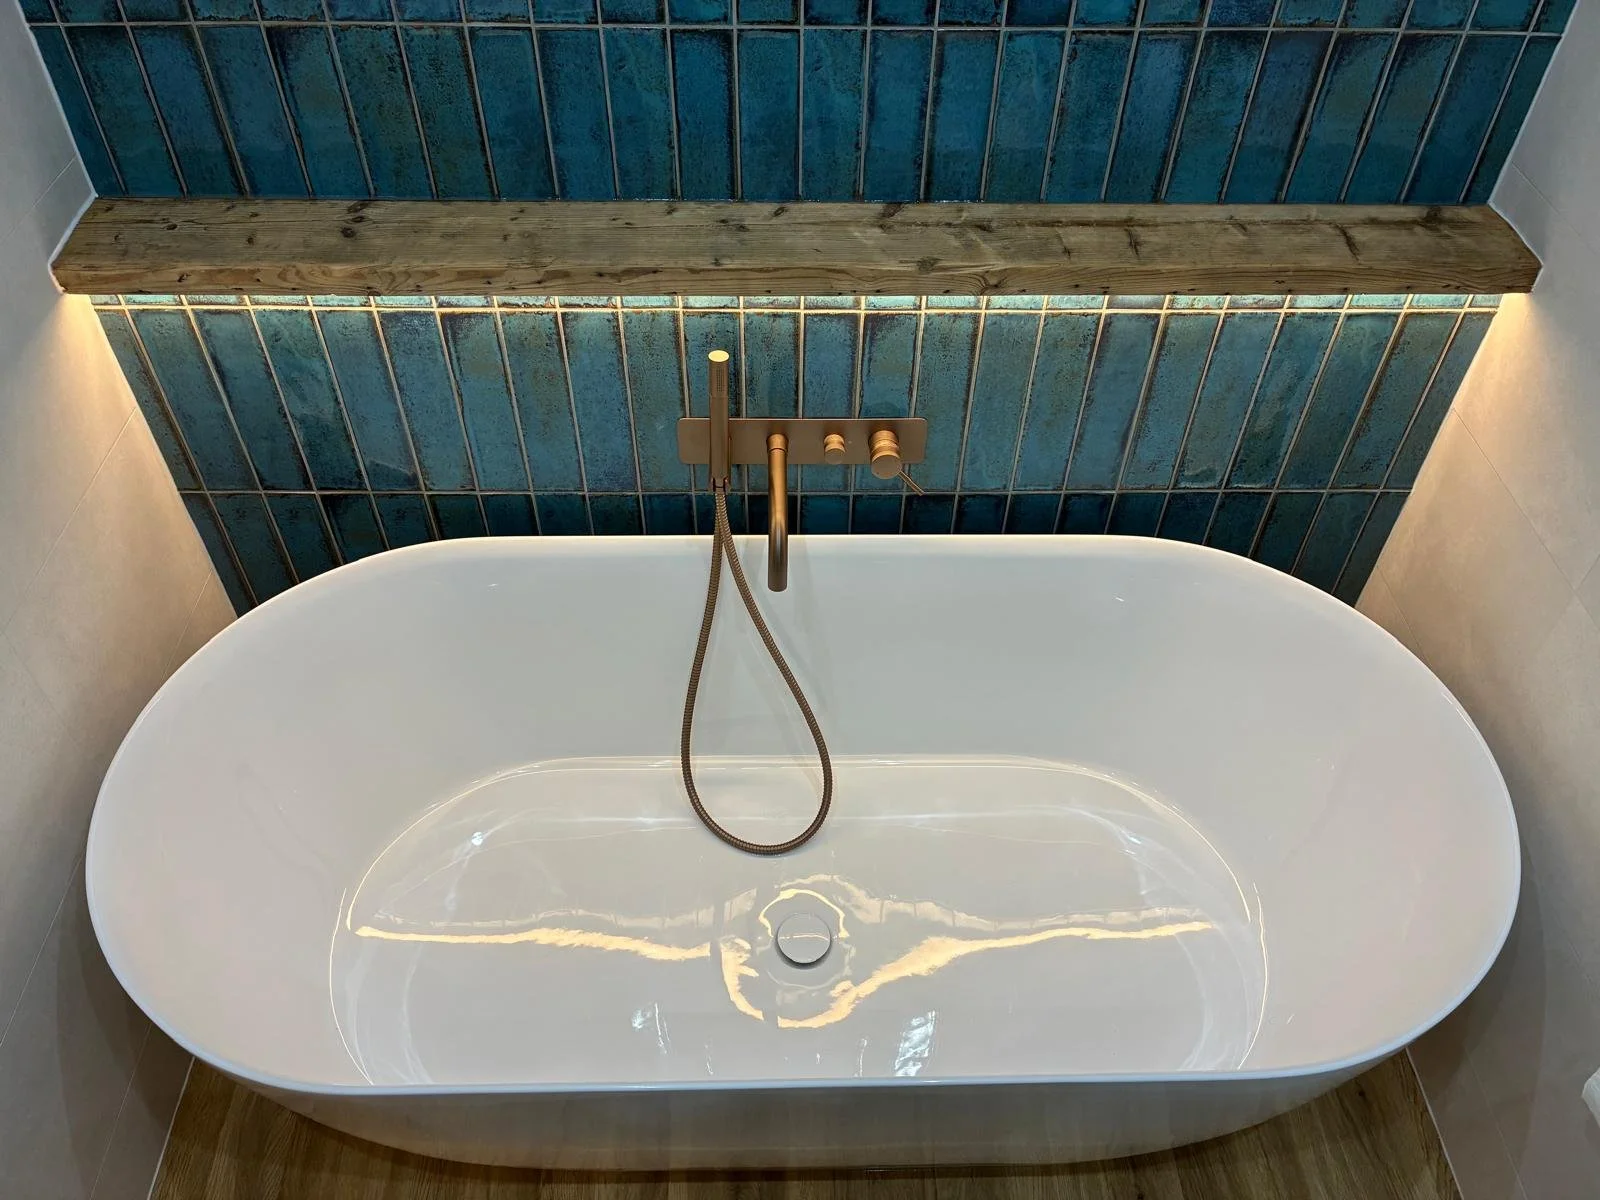
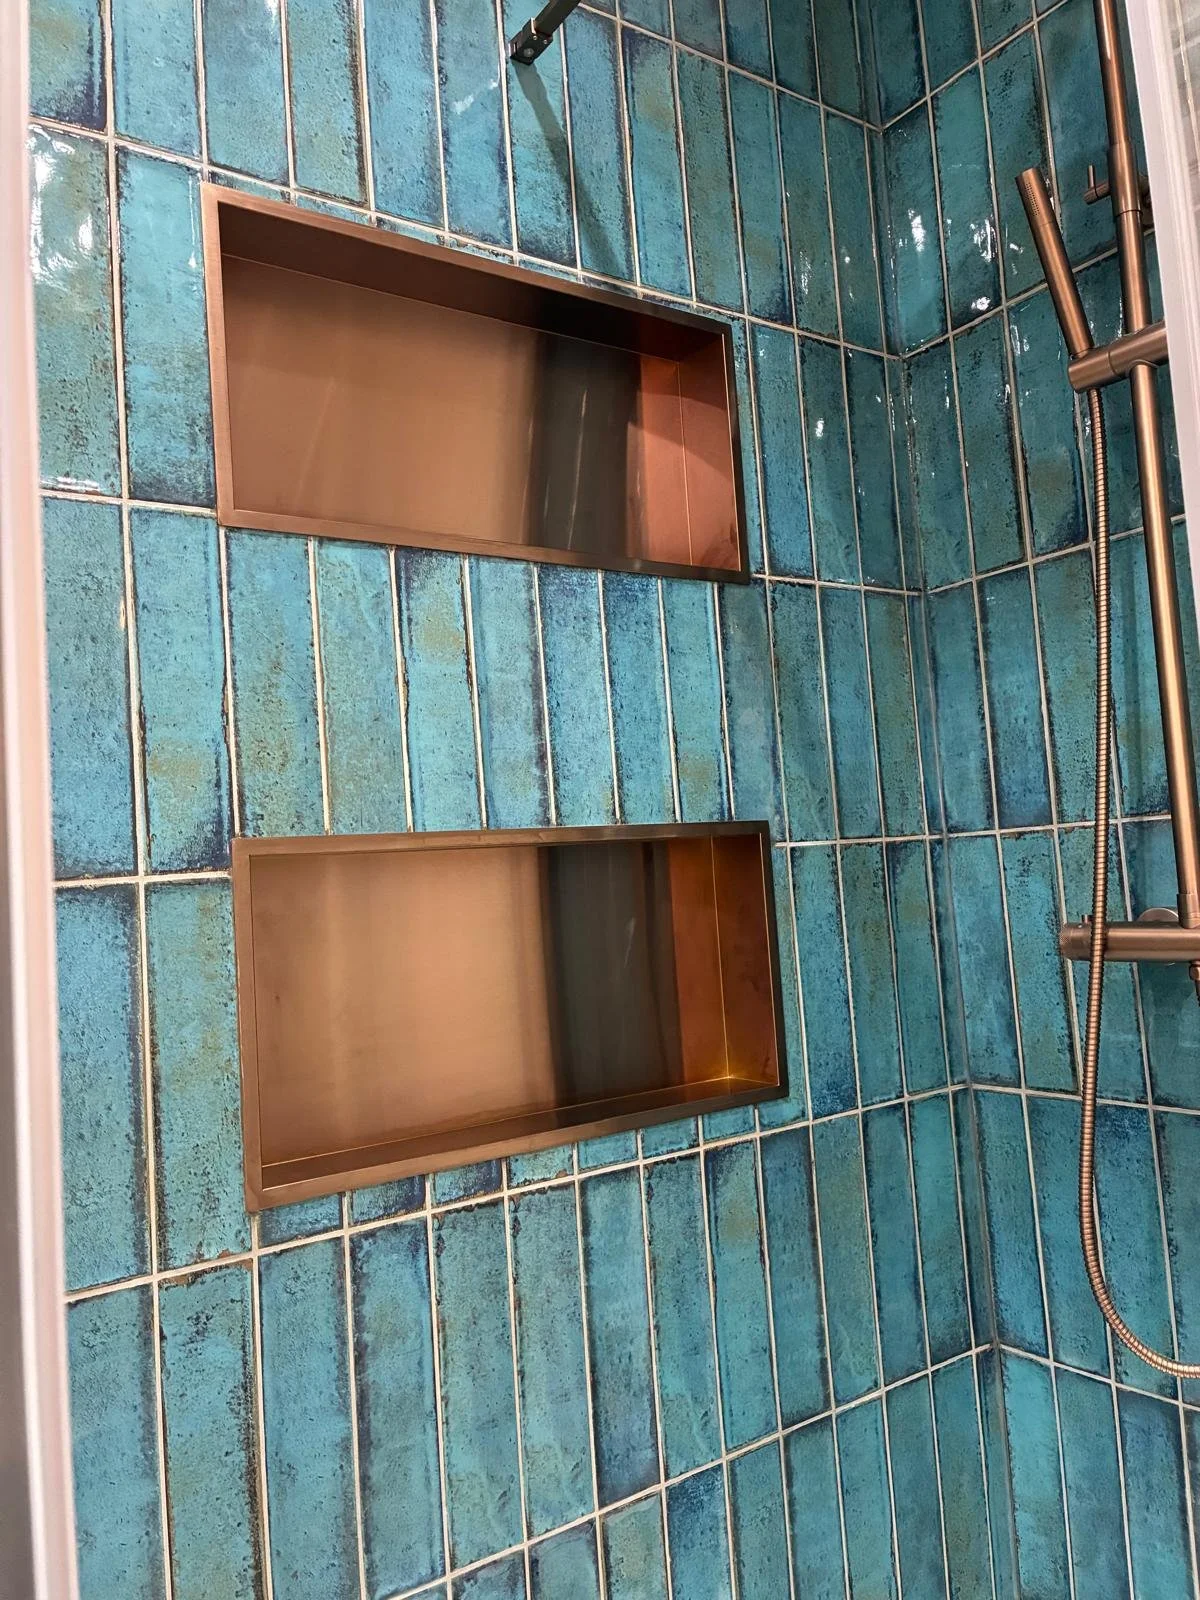
We had a few versions of the CAD design- in this one you can see that we’d moved away from the half wall idea, but hadn’t settled on the shower being enclosed and the door being on the front side of the shower, as opposed to just having an opening towards the back of the room. Mr & Mrs P opted for this change because they didn’t want to feel like they were squeezing past the toilet to get in and out of the shower- which means we could also move the toilet over and give it a little bit more space. We’d also moved away from the floor mounted bath taps, but hadn’t confirmed the bath shelf yet- or the niches! Designs often happen in several stages like this: there’s loads of opportunity to make changes and tweak the design until it’s perfect.

Our tiler had a chat with Mr & Mrs P on site- he suggested they nix the herringbone and opt for the more contemporary vertical stack instead- this adds height to the room, and it does a better job at hiding little discrepancies in uneven walls, floors and ceilings. At first, they weren’t convinced, but once he’d demonstrated how it would look, they went for it! This has resulted in a brilliantly on trend space that won’t age as quickly as the herringbone, and means the tiling looks really clean and perfect- which we love!
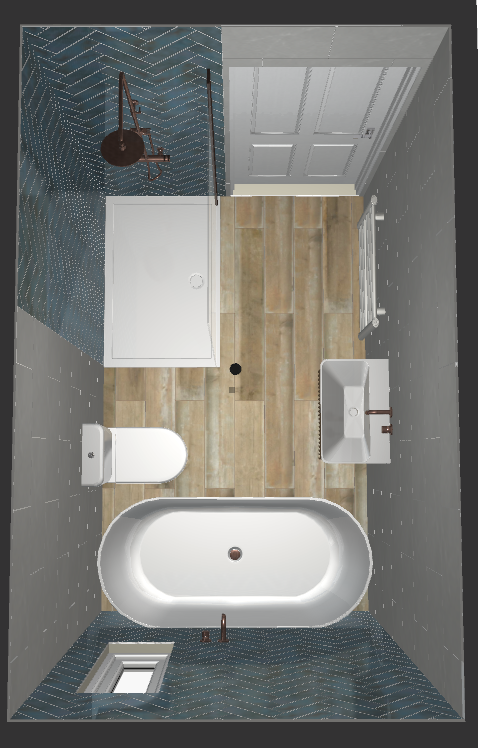
The end result…
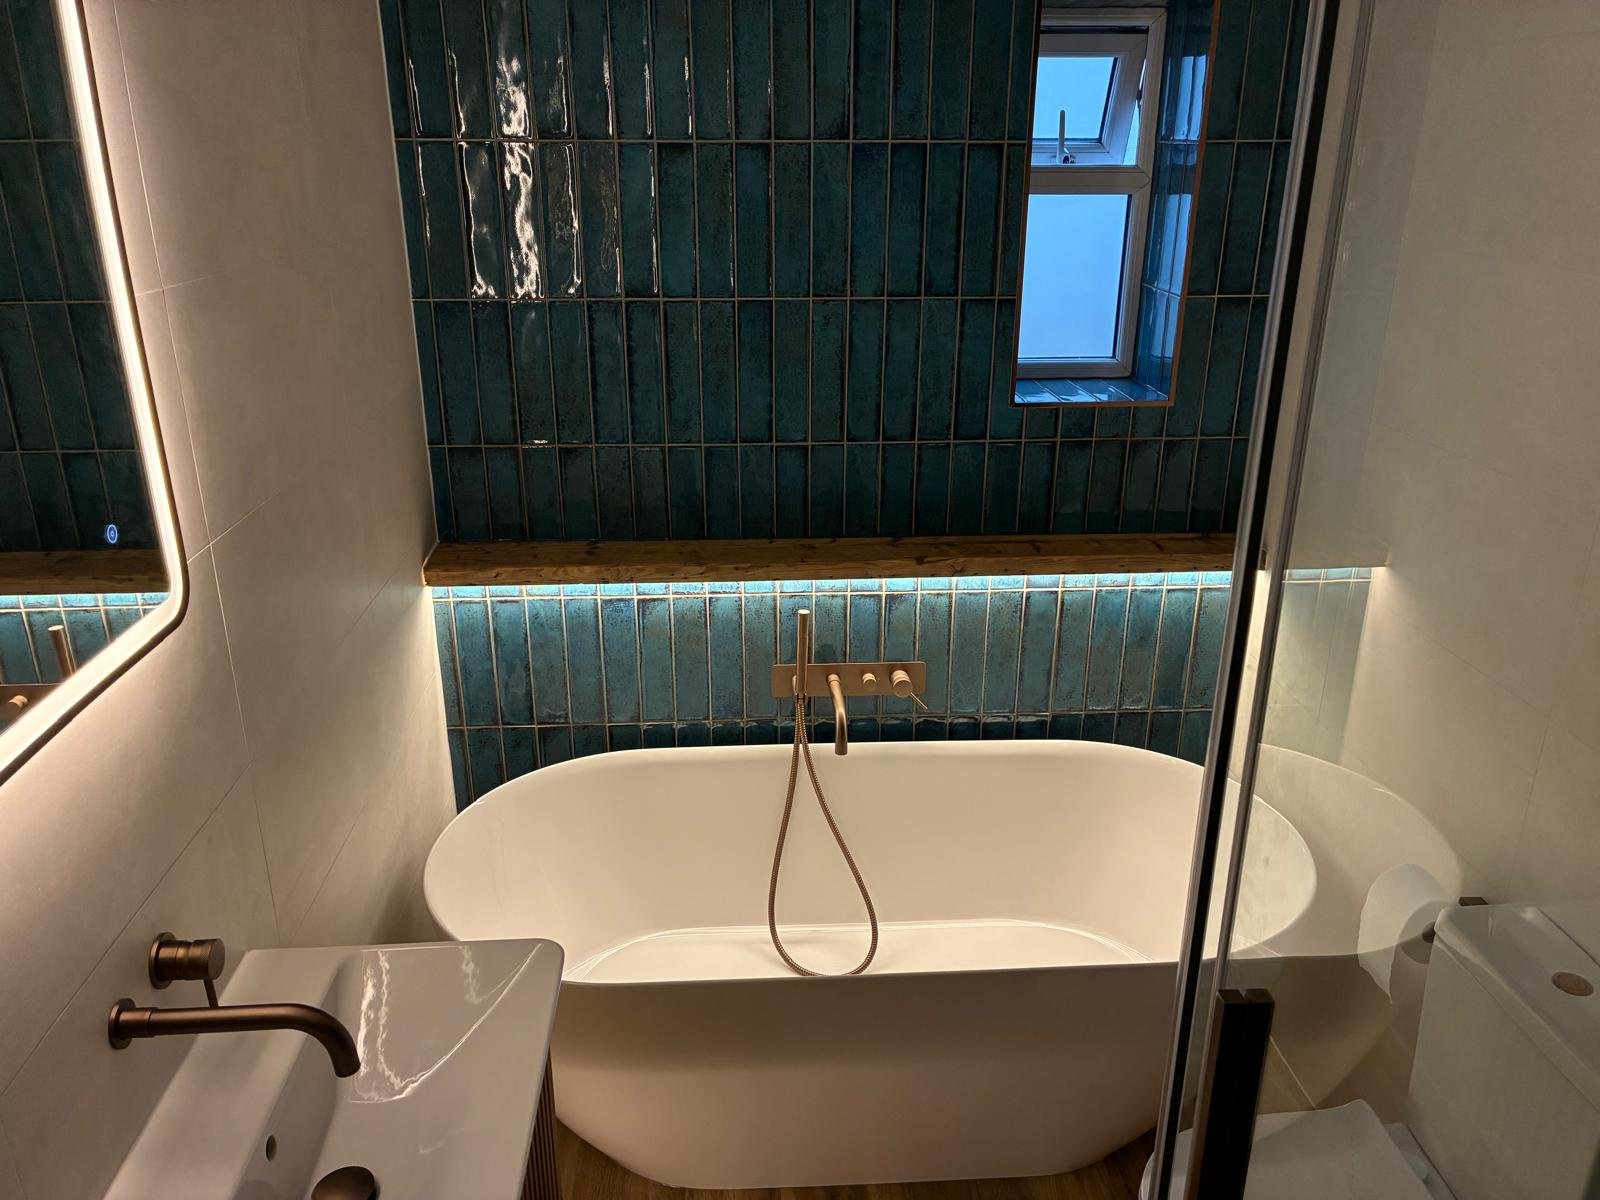
In our final consultation we added some feature lighting- the LED strips in the bath shelf and under the vanity unit, to provide a softer evening alternative to the new spotlights we installed in the ceiling. We also finalised the bath shelf design itself- Mr & Mrs P fell in love with a bespoke rustic wood shelf topper we have on display in the showroom and this felt like the perfect final touch to soften their bathroom design- the shelf is just wide enough for a little bit of decor, a few toiletry bottles, or a glass of wine!